Multi-Camera Podcast Setup With the ATEM Mini Pro
Wire 2-3 cameras into a Blackmagic ATEM Mini Pro for podcasts: audio routing, recording vs live-streaming paths, and a complete UK kit list.
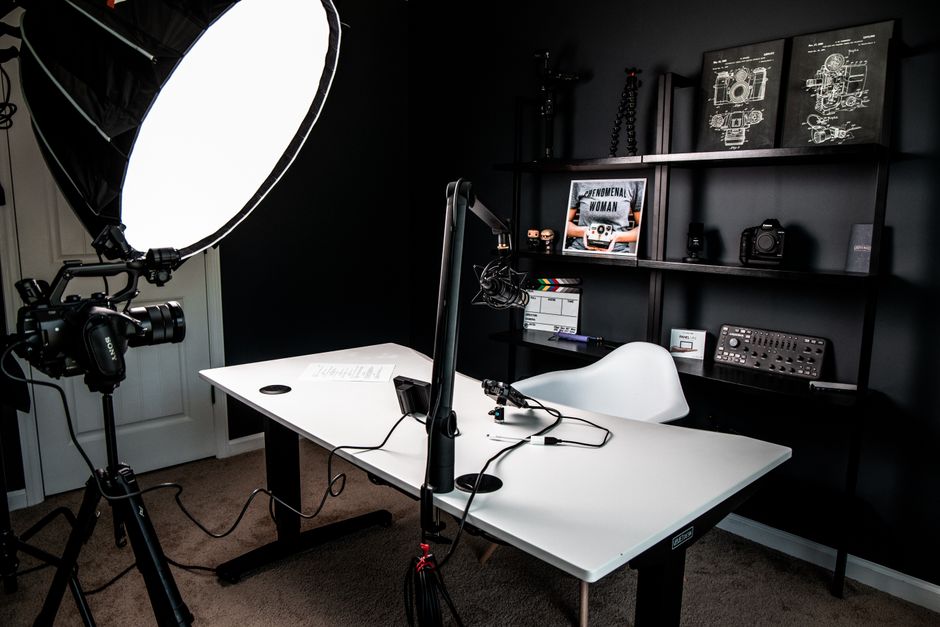
A multi-camera podcast setup with the ATEM Mini Pro turns two or three camera angles into a single, switched feed you can record or broadcast live - no capture card, no OBS scene-juggling. The ATEM Mini Pro (a hardware video switcher, also called a vision mixer) does the cutting in real time, so the edit is largely done the moment you stop recording.
This guide covers the full chain: which cameras and microphones to use, how to wire them in, how to route audio cleanly, and whether to record locally or stream live. Some links below are affiliate links; they never change which gear we recommend.
What do you need for a multi-camera podcast?
Four parts make up the setup: the switcher, two or three cameras, your microphones, and something to record or stream to. The ATEM Mini Pro is the hub - it takes four HDMI inputs, mixes them, and outputs a single feed over USB-C (as a webcam), HDMI, or its built-in streaming engine.
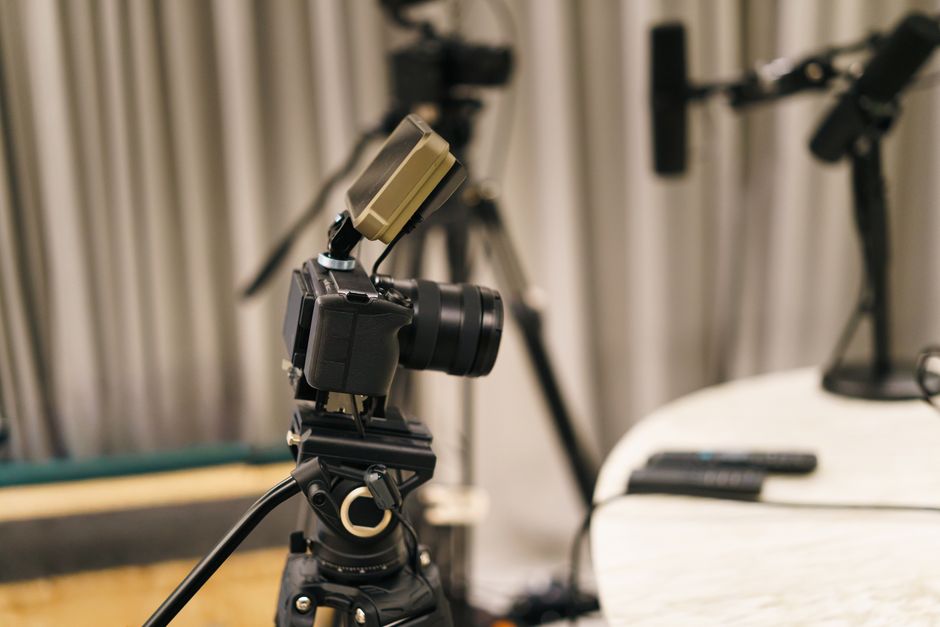
For cameras, anything with a clean HDMI output works: a mirrorless body, a dedicated webcam, or a pocket cinema camera like the DJI Osmo Pocket 3 for a compact side angle. Match every camera to the same resolution and frame rate (1080p50 or 1080p60 is the safe podcast standard) so the ATEM does not have to reformat mismatched feeds.
For audio, decide early whether your mics feed the switcher or the computer - it changes the whole signal path, and we cover it below.
The core kit
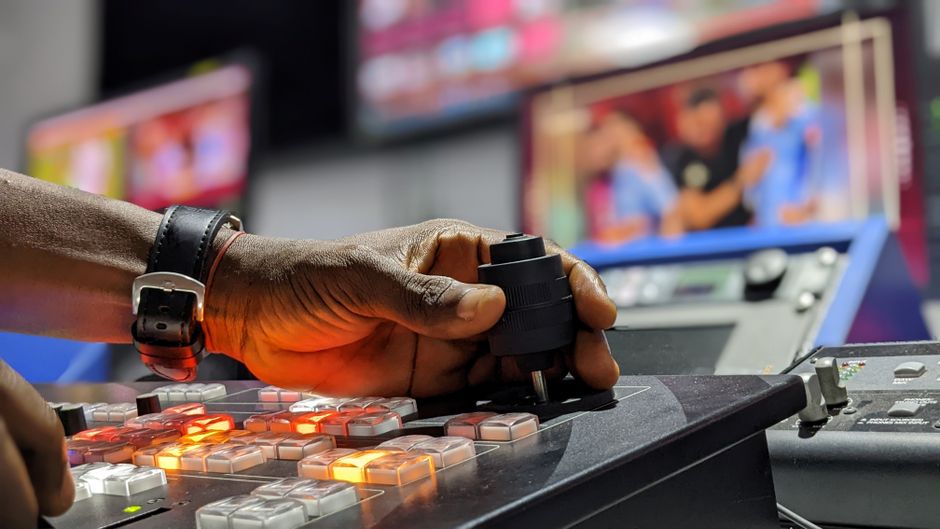
Blackmagic ATEM Mini Pro
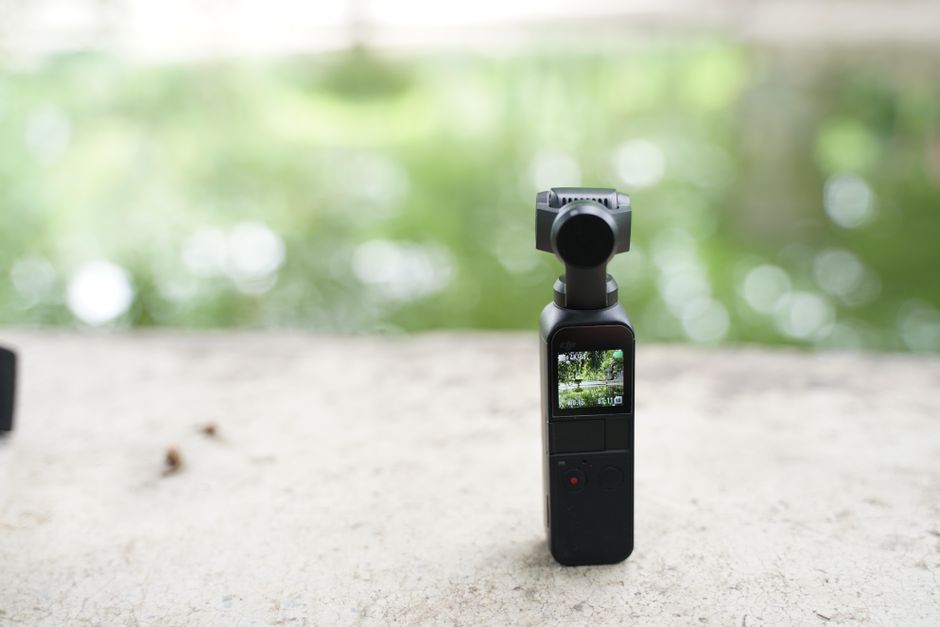
DJI Osmo Pocket 3
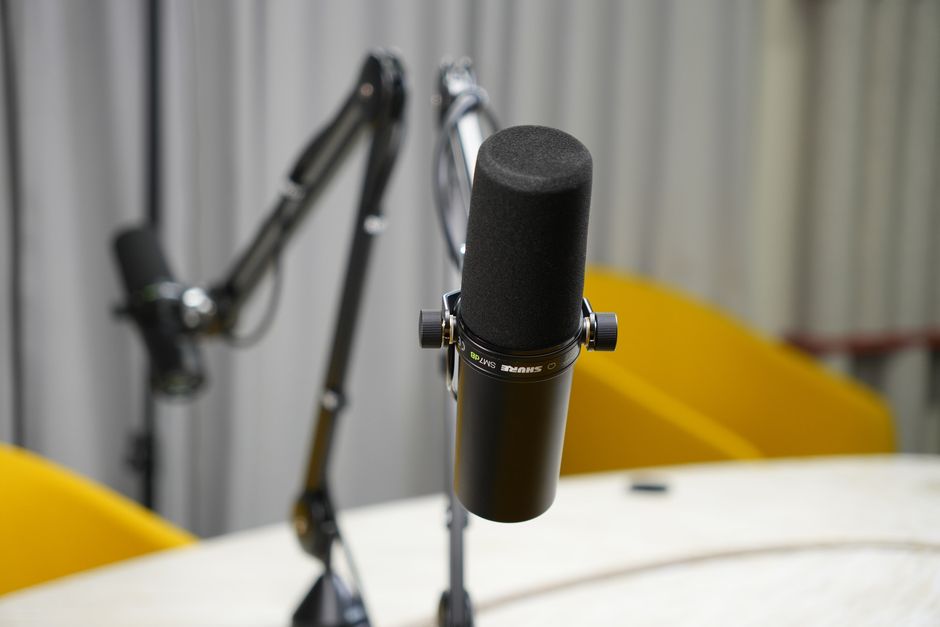
Shure MV7+
How do you connect the cameras to the ATEM Mini Pro?
Each camera connects to one of the four HDMI inputs with a full-size or micro-HDMI cable (check your camera's port). The ATEM re-syncs and format-converts every input, so cables of different lengths and cameras of different makes still line up. Set each camera to output a clean feed - no on-screen icons, focus boxes, or battery overlays - or those graphics will burn into your recording.
Set a shared format
Put every camera in the same resolution and frame rate (1080p50 or 1080p60). Mismatched feeds force extra conversion and can drop a frame on the cut.
Enable clean HDMI output
In each camera's menu, turn off info displays on the HDMI output. Many mirrorless bodies call this 'clean HDMI' or 'display info: off'.
Connect HDMI 1-4
Run each camera into a numbered HDMI input. Input 1 is your default 'home' shot - usually the wide two-shot.
Preview on the HDMI out
Connect the ATEM's HDMI output to a monitor and switch it to multiview to see all four inputs, the program feed, and audio meters at once.
Cut live
Press the numbered input buttons to cut between angles, or use the free ATEM Software Control panel for cuts, fades, picture-in-picture, and the audio mixer.
How do you route audio into the ATEM Mini Pro?
The ATEM Mini Pro has two 3.5mm TRS audio inputs plus the embedded audio on every HDMI feed, all mixed in its built-in Fairlight-style mixer. How your mics reach it depends on the microphone.
A RODE Wireless GO (Gen 3) is the cleanest match: its receiver has a 3.5mm output, so a single cable runs straight from the receiver into one of the ATEM's 3.5mm inputs. Two presenters on the same receiver arrive as one mixed feed.
The Shure MV7+ is different - it outputs over USB-C or XLR, not 3.5mm line out. For a switcher-centred setup, run XLR mics through a small analogue mixer or interface whose line/3.5mm output feeds the ATEM. Alternatively, connect the MV7+ over USB to your computer and mix audio there when you are using the ATEM as a USB webcam into software - the audio and video simply meet in the app rather than in the switcher.
Should you record locally or live-stream?
The ATEM Mini Pro gives you three output paths, and you can use more than one at once.
Record the finished cut. Plug a USB-C flash drive or SSD into the ATEM and it records the live program feed as an H.264 file - the switched edit, ready to publish with light trimming. Note that the standard Pro records the program feed only; if you want every camera saved separately to re-edit later, that is the ATEM Mini Pro ISO model.
Stream direct. The Pro has a hardware streaming engine: connect Ethernet, drop in your YouTube, Twitch, or Facebook stream key, and it broadcasts without a computer in the chain.
Output as a webcam. Over USB-C the ATEM appears as a standard webcam, so the switched multi-camera feed drops straight into Zoom, Riverside, OBS, or any conferencing tool - useful for remote-guest podcasts.
What does a complete podcast kit look like?
A workable two-camera podcast rig is the ATEM Mini Pro, two clean-HDMI cameras, a wireless or wired mic solution, HDMI cables, and a USB-C drive for recording. Add a monitor on the HDMI output so you can see the multiview while you present.
Scale up by filling the remaining HDMI inputs - a third angle, a screen-share from a laptop, or a slide feed. An on-camera prompter helps solo hosts hold eye contact on the home shot. Because pricing shifts often, check the current price through each product's review rather than budgeting from a figure that may be out of date.
Frequently asked questions
How many cameras can the ATEM Mini Pro handle?
Do you need a computer to run an ATEM Mini Pro podcast?
Can you connect XLR microphones to the ATEM Mini Pro?
What is the difference between the ATEM Mini Pro and the Pro ISO?
What resolution should podcast cameras output?
Blackmagic ATEM Mini Pro Review
Shure MV7+ Review
RODE Wireless GO III Review
Stream Deck Workflows for Creators
Build your podcast studio
Start with the switcher at the heart of the setup and add cameras and mics around it.