Comparison · 5 picks
Best Microphone for YouTube Voiceover (2026)
Affiliate disclosure: This article contains affiliate links. If you click through and buy a product we will earn a small commission at no extra charge to you. As an Amazon Associate I earn from qualifying purchases.
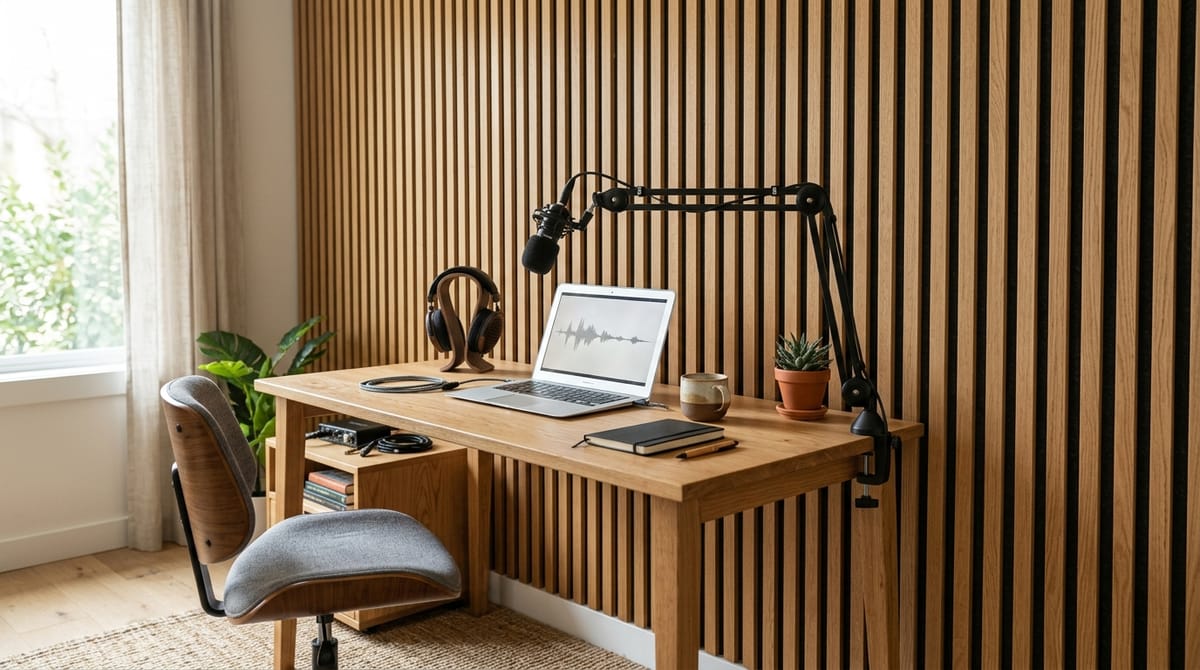
My YouTube channel is mostly voice-led: screen recordings, desk shots and product b-roll with my narration over the top. That makes the voiceover microphone the one piece of kit every video depends on, so I researched the field from budget to money-no-object before choosing mine.
This is a research comparison. I haven't recorded with these microphones, so everything below about how they behave comes from manufacturer specifications and published independent reviews, linked as I go. The links to Amazon UK are affiliate links: if you buy through one, Creator Kit Lab earns a small commission at no extra cost to you. Amazon UK prices move often, so check the current price before you buy.
What makes a microphone good for YouTube voiceover?
A voiceover mic records narration at your desk, straight into the computer you edit on. Three things decide which one suits you, and none of them is the price tag.
Your room comes first. A dynamic microphone (a moving-coil design that needs real sound pressure to respond) hears your voice and much less of the room around it. A condenser (a lighter, more sensitive capsule) catches more detail in a voice, and more echo, fan hum and traffic with it. The Podcast Host treats a condenser as a mic for a well-treated room and a dynamic as the safer fit for the rooms most people record in. A spare bedroom with bare walls is a dynamic room. My guide to soundproofing vs acoustic treatment covers what changing that involves.
USB, XLR or both. A USB mic plugs straight into a computer. An XLR mic needs an audio interface, a small box that converts its signal for the computer. A hybrid with both outputs lets you start on USB and move to an interface later without replacing the mic.
Gain. Dynamic mics put out a quiet signal, so they need plenty of clean amplification. Shure states that its classic SM7B needs around +60 dB of clean gain, more than many budget interfaces supply. My gain staging guide explains why that matters for clipping and hiss.
At a glance
All 5 options side by side.
| MAONO PD200X | Shure MV7+ | RØDE NT-USB+ | RØDE PodMic USB | Shure SM7dB | |
|---|---|---|---|---|---|
| Price | See price | See price | See price | See price | See price |
| Best for | The one I chose for my own channel. | a USB-C and XLR dynamic with auto level mode, a real-time denoiser and a digital pop filter built in. | On paper, the pick for a quiet, soft room only. | On paper, the mid-range step for someone who wants a broadcast-style dynamic with RØDE's processing and a swing mount that goes straight onto a boom arm. | On paper, the money-no-object choice. |
| Review | Read review → | Read review → | Read review → | Read review → | Read review → |
| Buy |
The picks in detail
MAONO PD200X
Bottom line. The one I chose for my own channel. A metal-bodied dynamic USB-C and XLR hybrid at the budget end, with headphone monitoring and a mute key. I picked it because it fits the stand I already bought and I want my mic raised off the desk.
Pros
- Dynamic capsule suited to an untreated room
- USB-C and XLR outputs
- Free Maono Link software adds EQ, limiter and compressor over USB
Cons
- No XLR cable in the box
- Software processing works in USB mode only
- Combined gain and headphone knob
Shure MV7+
Bottom line. On paper, the most help for a beginner in a noisy or echoey room: a USB-C and XLR dynamic with auto level mode, a real-time denoiser and a digital pop filter built in. The premium all-rounder.
Pros
- Dynamic cardioid capsule rejects room noise far better than typical USB condensers
- USB-C and XLR outputs let the same mic grow from desk setup to studio mixer
- Auto Level Mode and the digital pop filter make recordings usable with no post-processing
- Settings persist on the device, so it works on any computer without Shure's software
- All-metal build with an integrated yoke for standard mic arms
- Works with phones as well as computers (iOS 16+ / Android 12+)
Cons
- All DSP features (denoiser, auto level, reverb) switch off when using the XLR output
- Premium pricing versus comparable USB dynamic mics
- No stand or boom arm in the box
- USB output sounds slightly more congested in the mids than the XLR path, per Podcastage's test
- Needs close-talking, like any dynamic podcast mic
RØDE NT-USB+
Bottom line. On paper, the pick for a quiet, soft room only. A USB-C condenser with a pop filter and desk stand in the box, and the most detail of the field, room included. USB only, so no interface upgrade path.
Pros
- Rich, full vocal sound with strong presence - reviewers rate it above the Blue Yeti class
- Revolution Preamp delivers very low self-noise for a USB mic
- On-board APHEX DSP (compressor, noise gate, exciter) processes audio without taxing the computer
- Zero-latency headphone monitoring with a proper mic/playback mix dial
- Included pop filter and desktop stand make it complete out of the box
- Works with phones and tablets as well as computers
Cons
- No on-mic gain control or mute button - level changes happen in software
- A cardioid condenser picks up more room noise than a dynamic podcast mic in untreated spaces
- Costs more than most single-purpose USB mics
- No XLR output - committed USB-only design
RØDE PodMic USB
Bottom line. On paper, the mid-range step for someone who wants a broadcast-style dynamic with RØDE's processing and a swing mount that goes straight onto a boom arm.
Pros
- Broadcast-style dynamic with USB-C and XLR
- Internal shock mount and built-in pop filter
- APHEX processing through RØDE Central
Cons
- Heavy, so it wants a sturdy boom arm
- About twice the price of the budget hybrids
- Processing is a USB-mode feature
Shure SM7dB
Bottom line. On paper, the money-no-object choice. The broadcast-standard SM7B sound with Shure's own preamp inside, so it drops the hunt for an interface with +60 dB of clean gain.
Pros
- SM7B sound with a built-in +18 or +28 dB preamp
- Works with ordinary interface preamps
- Tone switches for bass cut and presence boost
Cons
- XLR only: needs an interface with 48V phantom power
- The dearest mic here, before an interface
- Big and heavy on a boom arm
Which voiceover microphone should you choose?
Start from your room and budget, then the list shortens quickly.
- Ordinary room, tight budget: the MAONO PD200X (a dynamic USB-C and XLR hybrid from Chinese audio brand MAONO), the cheapest mic here. It is the one I chose, and my budget microphone for voiceover post sets it against the other mics I compared in that band.
- Ordinary room, mid budget: the RØDE PodMic USB (a USB-C and XLR version of the PodMic broadcast dynamic from Australian maker RØDE), at roughly twice the budget hybrids' price.
- Noisy room, or you want the mic to do the work: the Shure MV7+ (the USB-C and XLR podcast dynamic from US audio maker Shure), the dearest of the USB mics here.
- Quiet, soft room and no interface plans: the RØDE NT-USB+, the one USB condenser in this comparison.
- No budget ceiling, and an interface already on the desk: the Shure SM7dB, the most expensive mic here before you add an interface.
Why did I choose the MAONO PD200X?
My starter budget is small, my recording room is an ordinary untreated one, and I want the option of an interface later. That rules out a condenser and points at a budget dynamic hybrid. Among those, the PD200X fits the stand I already bought, and I would rather have my mic raised than sitting on the desk.
Microphone Geeks (an independent microphone review site) finds the PD200X tuned for voice and good at rejecting an untreated room, with no audible hiss at high USB gain. It also flags a plastic shock mount and processing that only works over USB. Those are trade-offs I accepted for the price.
Is the RØDE PodMic USB worth the step up?
RØDE describes the PodMic USB as a broadcast dynamic with both XLR and USB-C, an internal shock mount, a built-in pop filter and a headphone port for zero-latency monitoring. Its APHEX processing (compression and tone shaping licensed from audio company APHEX) runs through the free RØDE Central app. What the extra money buys over a budget hybrid is build and processing rather than a different kind of microphone. Both are close-working dynamics, so your technique and room still decide most of the result.
When does the Shure MV7+ make sense?
The MV7+ suits someone who wants the microphone to manage levels and noise for them. Shure lists an auto level mode that adjusts gain to your distance and volume, a real-time denoiser, a digital popper stopper and a touch panel that mutes with a tap. On a voice-led channel recorded in a room with a fridge, traffic or a computer fan, that processing does work you would otherwise do in the edit. My Shure MV7+ review goes through its controls and app, and the best podcast microphones comparison weighs it against the NT-USB+.
Should a voiceover beginner buy a condenser?
Only with a quiet, soft room. RØDE lists the NT-USB+ as a studio-grade condenser with its Revolution Preamp, APHEX processing, zero-latency headphone monitoring and 48kHz/24-bit USB-C audio, with a pop filter and desk stand included. That sensitivity is the point of a condenser and also its catch: it records the room as faithfully as the voice. Clap once where you plan to record. A short, dead thud means a condenser can work. A ring that hangs in the air means choose a dynamic.
Is the Shure SM7dB overkill for voiceover?
For most new channels, yes. The SM7B is the broadcast standard, but Shure says it needs around +60 dB of clean gain, so owners often add an in-line preamp. The SM7dB puts a Shure-designed preamp inside, switchable between +18 dB and +28 dB, and runs from the 48V phantom power an interface supplies. It is XLR only, so budget for an interface and a sturdy boom arm on top of the mic. It makes sense when the channel is earning and the rest of the chain is already in place.
How do you record voiceover with screen recordings?
You don't need special software to start. On a Mac, Apple documents Shift-Command-5 for screen recording, with an option to pick your microphone so narration records alongside the screen. For longer sessions, OBS Studio (the free, open-source recording and streaming app) recommends recording to MKV, so a crash does not corrupt the whole file, then remuxing to MP4.
Recording narration separately from the screen gives you more control. You can re-read a line without redoing the capture, and set your mic's level once for the whole session.
A real voice also matters beyond sound quality. YouTube's monetisation policies treat mass-produced, templated content as inauthentic, and a channel narrated in its creator's own voice, with original commentary, sits on the right side of that line.
Frequently asked questions
What is the best microphone for YouTube voiceover on a budget?
Is a USB microphone good enough for YouTube voiceover?
Dynamic or condenser for voiceover?
Do I need an audio interface for voiceover?
Does a better microphone fix an echoey room?
Sources
- The Podcast Host: the best podcast microphones
- Shure: SM7B or SM7dB, which microphone is right for you?
- RØDE: PodMic USB
- RØDE: NT-USB+
- Microphone Geeks: MAONO PD200X review
- Apple: how to record the screen on your Mac
- OBS Project: standard recording output guide
- YouTube Help: channel monetisation policies
Budget Microphone for Voiceover: The One I Chose
Microphone Polar Patterns Explained
Best Acoustic Panels for an Echoey Home Office