How to Add a Facecam to a Screen Recording on Mac
How to add a facecam to a screen recording: a camera over the screen in OBS, an iPhone or Pixel as the webcam, and a separate camera file for the edit.
Learning how to add a facecam to a screen recording turns a plain software walkthrough into something closer to a conversation. A facecam is the small video of the presenter's face, usually sitting in a corner over the screen footage, and it is optional: plenty of good tutorials never show a face.
This guide is Mac-first and covers three jobs: putting a camera over the screen in free software, using a phone as that camera, and keeping the camera on a separate file so the choice of whether to show it is made later, in the edit. It is built from the OBS, Apple and Google documentation and the recorders' own help pages, linked as they come up. It assumes the screen and audio side already works; if not, start with how to screen record on a Mac with audio.
What are the two ways to add a facecam?
There are two approaches, and the difference matters more than the software:
- Baked in (live composite). The camera is laid over the screen while recording, and both end up in one video file. It is quick and needs no editing, but the size, position and presence of the camera are fixed once you stop recording.
- Separate files or tracks. The screen and the camera are recorded side by side as separate pieces of video, then combined in an editor. A track here means one layer of video or audio in an editing timeline. This takes a few more minutes per video, but you can move the camera, resize it, hide it for a section, or drop it entirely.
For a channel that has not yet decided how much of a face it wants to show, the second approach is the safer habit. A faceless, voice-led channel can still record the camera and simply never use it, while a channel that later wants a face has the footage ready.
How do you add a facecam in OBS Studio on a Mac?
OBS Studio (free, open-source recording and streaming software maintained by the OBS Project community) runs on macOS, Windows and Linux. OBS builds a recording from sources (each input, such as a screen, a camera or a microphone) stacked inside a scene (the layout being recorded). Sources higher in the list sit on top, so the camera goes above the screen.
The camera source is called a Video Capture Device, which is the name OBS gives any webcam or camera input. According to the OBS Knowledge Base, it is available on macOS and Windows and you choose the camera from its Device list.
Set up the screen first
Add a macOS Screen Capture source for the display or window you are recording, and your microphone, as in the Mac screen recording guide. Check the screen fills the preview.
Add a Video Capture Device
In the Sources panel click +, choose Video Capture Device, name it Camera, then pick your camera from the Device drop-down. Grant macOS camera permission if asked, then restart OBS.
Leave resolution on the default to start
OBS uses the camera's own default resolution and frame rate. Set a size or frame rate the camera does not support and the source goes blank, so change these only if the default is wrong.
Put the camera on top
Make sure Camera sits above the screen source in the Sources list. Drag it up if not.
Resize and position it
Drag the red corner handles in the preview to shrink the camera, then drag it into a corner. Hold the camera away from areas of the screen where menus and buttons appear.
Record a short test
Record 20 seconds, play it back and check the camera does not cover anything the viewer needs to see.
For exact placement, right-click the camera source and choose Transform, then Edit Transform, to type in a size and position. Using the same numbers every time keeps the camera in the same place from video to video.
How do you crop and size the facecam?
A webcam frame is usually much wider than the face in it. Cropping trims the empty background so the face fills a smaller box, which matters when the whole camera might only take up a fifth of the screen width.
OBS offers two ways to crop:
- In the preview. Hold Option (Alt on Windows) and drag an edge handle of the camera source. This crop belongs to that scene only.
- With the Crop/Pad filter. A filter in OBS is an effect applied to one source. The Crop/Pad filter removes a set number of pixels from each edge, and unlike the preview crop it changes the source itself, so every scene using that camera gets the same crop. Add it by right-clicking the camera, choosing Filters, and clicking + under Effect Filters.
For a corner facecam, crop until the face, shoulders and a little space above the head remain. A camera that fills roughly a quarter of the frame's width stays readable on a phone screen without hiding much of the screen behind it; go smaller if the screen content is dense.
How do you make a round facecam?
A circle or rounded square looks tidier than a rectangle over a busy desktop. OBS makes one with the Image Mask/Blend filter. Image Mask is the key idea: a picture whose transparent areas hide the matching parts of the camera, so only the shape you draw stays visible.
Make a mask image
Create a square PNG in any image editor: a solid white circle on a fully transparent background. This is an alpha mask, an image whose transparent areas tell OBS what to remove.
Crop the camera square first
Use Crop/Pad so the camera source is square. A rectangular source turns a circular mask into an oval.
Add the Image Mask/Blend filter
Under Filters, add Image Mask/Blend to the camera, set Type to Alpha Mask (Alpha Channel) and choose your PNG as the Path.
Leave Stretch Image off
Stretch Image fits the mask to the source while ignoring its shape. With a square crop it is not needed, and switching it on is the usual cause of a squashed circle.
How do you use an iPhone as the facecam?
A phone's main camera is usually sharper than a laptop's built-in webcam, and most people already own one. On a Mac, an iPhone does this through Continuity Camera, Apple's feature that turns a nearby iPhone into a webcam for the Mac.
According to Apple Support, it needs an iPhone XR or later on iOS 16 or later, a Mac on macOS Ventura 13 or later, and both signed in to the same Apple Account with two-factor authentication. It works wirelessly or over USB; over USB the iPhone must trust the Mac, and wirelessly the Mac must not be using AirPlay or Sidecar at the same time.
- Mount the iPhone so it is still, locked, and has its rear cameras facing you. Apple's guidance is that a landscape iPhone lets apps pick it automatically.
- In OBS, open the Video Capture Device's properties and choose the iPhone from the Device list.
- Record a short test and check the picture holds steady for a few minutes before a long session.
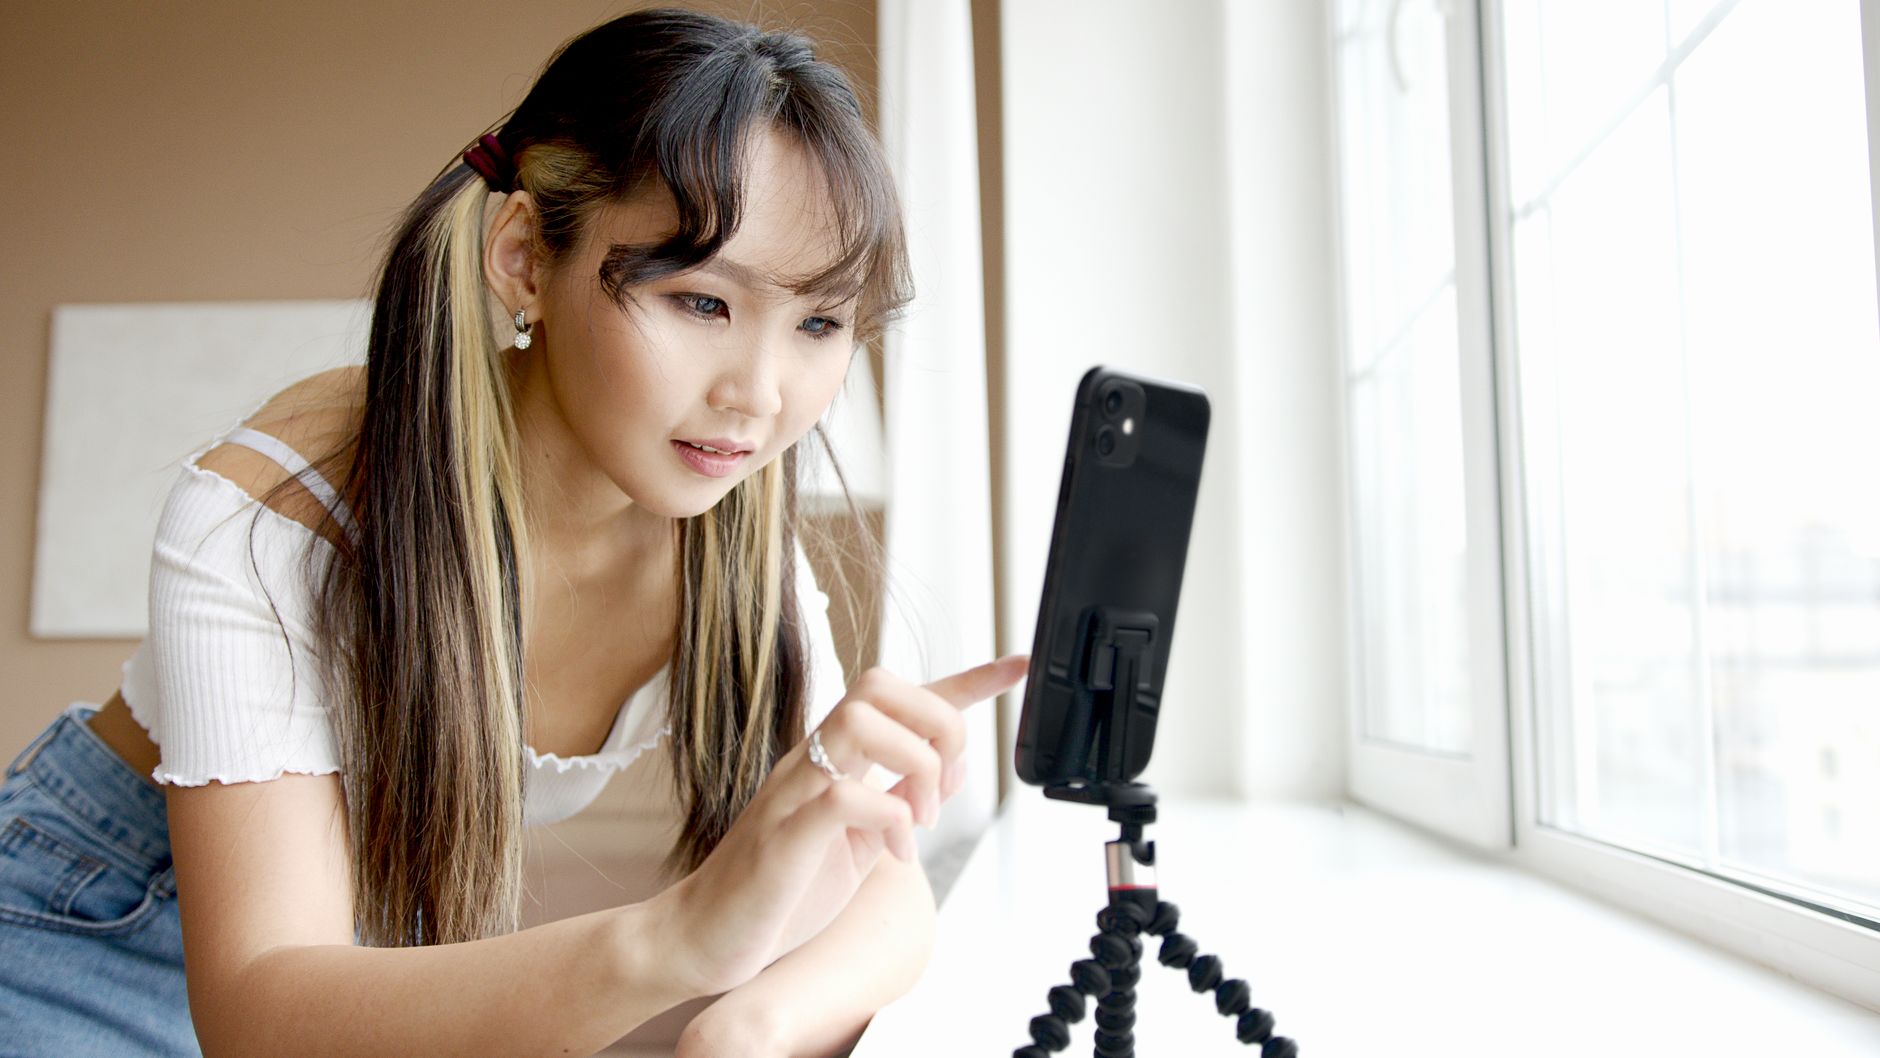
The rear cameras are the point: they are the better cameras on the phone, which is why Apple asks for them to face you. That also means the phone's screen faces away, so frame the shot using the OBS preview on the Mac. How to film yourself with a phone covers mounts and positioning in more depth.
Can an Android phone such as the Pixel 9a be a webcam?
Yes, over a cable. Google's Pixel phones have a built-in webcam mode that sends video over USB using UVC (USB Video Class, the common standard that lets a computer use a camera without a special driver). The Google Pixel Camera help page lists the steps:
Plug in with a data cable
Connect the phone to the Mac with a USB-C cable that carries data, not a charge-only cable.
Switch the USB mode to Webcam
Tap the Charging this device through USB notification, then under Use USB for, choose Webcam.
Preview and adjust on the phone
Tap the Webcam notification to open a preview, where you can switch cameras and zoom.
Select it in OBS
Choose the phone from the Video Capture Device's Device list.
Google describes the mode as working with any device that supports UVC, and names laptops among them, but its page does not mention the Mac by name. Macs generally accept standard UVC webcams with no driver, so the phone is expected to appear in OBS like any other USB camera. Test it on your own Mac before planning a recording around it, because a phone that does not show up in the Device list leaves you without a camera mid-session.
Two practical points from Google's page: the phone keeps charging while it works as a webcam, and the feed pauses if another app on the phone takes the camera. For what else a Pixel 9a (Google's 2025 mid-range Pixel phone) can do for a channel, see the Pixel 9a for YouTube.
How do you record the camera on its own file?
Recording the camera separately keeps every option open. There are three practical ways to do it on a Mac.
1. A paid recorder that does it for you. Several screen recorders keep the camera editable after recording, covered in the next section. This is the least fiddly route.
2. OBS with the Source Record plugin. A plugin is an add-on that gives OBS features it lacks out of the box. Source Record is a third-party plugin that adds a filter which records one source, such as the camera, to its own file while the main recording carries on. Its listing names macOS support and OBS 26 or later as the minimum. Some reviews on that listing report crashes or the filter failing to appear, so install it, run a full-length test, and only then rely on it.
3. Record the camera on the camera. Start the screen recording, start the phone or camera recording on its own, and line the two up later in the editor. This needs no plugin at all and the camera footage is recorded at the device's full quality.
How do you sync a separate camera recording?
Two recordings started by hand never begin at exactly the same moment, so they need a shared marker to line up. The standard method is a clap sync: once both recordings are running, clap once, clearly, in view of the camera.
- Place both clips in the editor timeline, the screen recording on one track and the camera on the track above.
- Find the clap in each clip's audio waveform, the visual graph of the sound. It shows as a sharp spike.
- Slide the camera clip until its spike sits directly above the spike in the screen recording, then trim off everything before it.
- Mute the camera's own audio and keep the microphone track from the screen recording.
Many editors can also match clips by their audio automatically. Either way, a clap at the start makes the job reliable. The free video editing software for Mac guide covers editors that handle multiple video tracks.
How do paid screen recorders handle the camera?
Paid recorders mostly differ from OBS in one way: the camera stays separate and adjustable after recording, without plugins or syncing.
- Screen Studio (a paid Mac screen recorder known for automatic zooms). Its webcam guide says the camera is chosen from the camera icon before recording, and its size, layout and position are set afterwards in the editor; the live preview is not burned into the video. Its camera layouts timeline switches the camera between fullscreen, the default overlay and hidden for different parts of a recording.
- Camtasia (TechSmith's screen recorder and editor for Mac and Windows). According to TechSmith's tutorial, the recorder switches screen, camera and microphone on and off separately, and the editor opens with the camera and mic on one track and the screen and system audio on another. The camera can then be moved, scaled, cropped and animated, with fullscreen or picture-in-picture layouts available.
- ScreenFlow and Loom also record a camera alongside the screen. Their help pages change often, so check the current version's documentation for how the camera is stored before buying for this feature.
Picture-in-picture, in all of these, simply means a smaller video placed over a larger one: the standard corner facecam. If you are weighing these tools against free OBS, the deciding question is how much editing time each video can take. OBS costs nothing but needs the setup above; the paid tools trade money for fewer steps.
How should you frame and light a small facecam?
A corner facecam is small on screen, so it punishes the problems a full-frame shot hides. Faces read from the eyes, and at that size there is little room for anything else.
- Frame tight. Head and the top of the shoulders, with a little space above the head. Wide shots that look fine fullscreen turn into a tiny distant face in a corner.
- Camera at eye level. A camera below the face looks up the nose; one well above looks down on you. Place it as close to the top of the screen you are reading as possible, so your eyeline stays near the lens.
- Keep the background quiet. A busy shelf behind you competes with the screen content around the camera box. A plain wall or a softly lit corner is enough.
- Light the face, not the room. One soft light in front and slightly to one side makes the biggest difference. The one-light setup for YouTube walks through placing it.
- Watch the monitor glow. A bright screen in front of you lights your face blue and changes as windows change. A light brighter than the screen fixes this.
- Lock exposure if you can. A camera that keeps readjusting to a changing screen makes the face pulse brighter and darker. On a phone, fixing exposure and focus before recording avoids it.
Which method should you use?
Match the method to the job:
- Quickest, free: OBS with a Video Capture Device over the screen, cropped and in a corner. Fine when the camera will always be shown.
- Undecided about showing your face: record the camera separately, with the Source Record plugin, by recording on the phone itself and clap-syncing, or with a paid recorder.
- Least editing per video: a paid recorder such as Screen Studio or Camtasia, where the camera stays adjustable after recording.
- Better camera than the built-in webcam: an iPhone through Continuity Camera, or a Pixel in its USB webcam mode, tested on the Mac first.
Whichever you choose, record a short test with the camera in place and watch it back at phone size before the real take.
Frequently asked questions
How do I add a facecam to a screen recording for free?
Can I add a facecam after recording?
Can I use my iPhone as a webcam on a Mac?
Can I use an Android phone as a webcam on a Mac?
How do I make a round facecam in OBS?
Why is my OBS camera source black?
Sources
- OBS Knowledge Base: Video Capture Sources
- OBS Knowledge Base: Crop/Pad Filter
- OBS Knowledge Base: Image Mask/Blend Filter
- OBS forum: Source Record plugin
- Apple Support: use iPhone as a webcam for Mac
- Google: use your Pixel phone as a webcam
- Screen Studio: webcam and microphone
- TechSmith: record and edit camera video in Camtasia
How to screen record on a Mac with audio
Faceless YouTube channel setup
How to film yourself with a phone