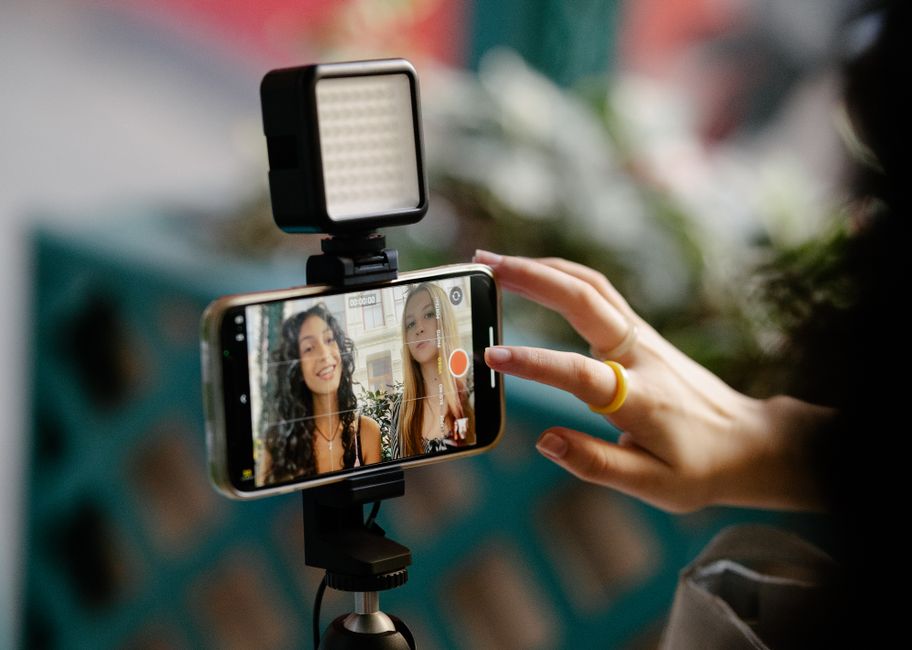
How to Film Yourself With a Phone: A Solo Setup Guide
How to film yourself with a phone: which camera to use, where to put it, the settings to lock, and how to start, light and mic a solo take.
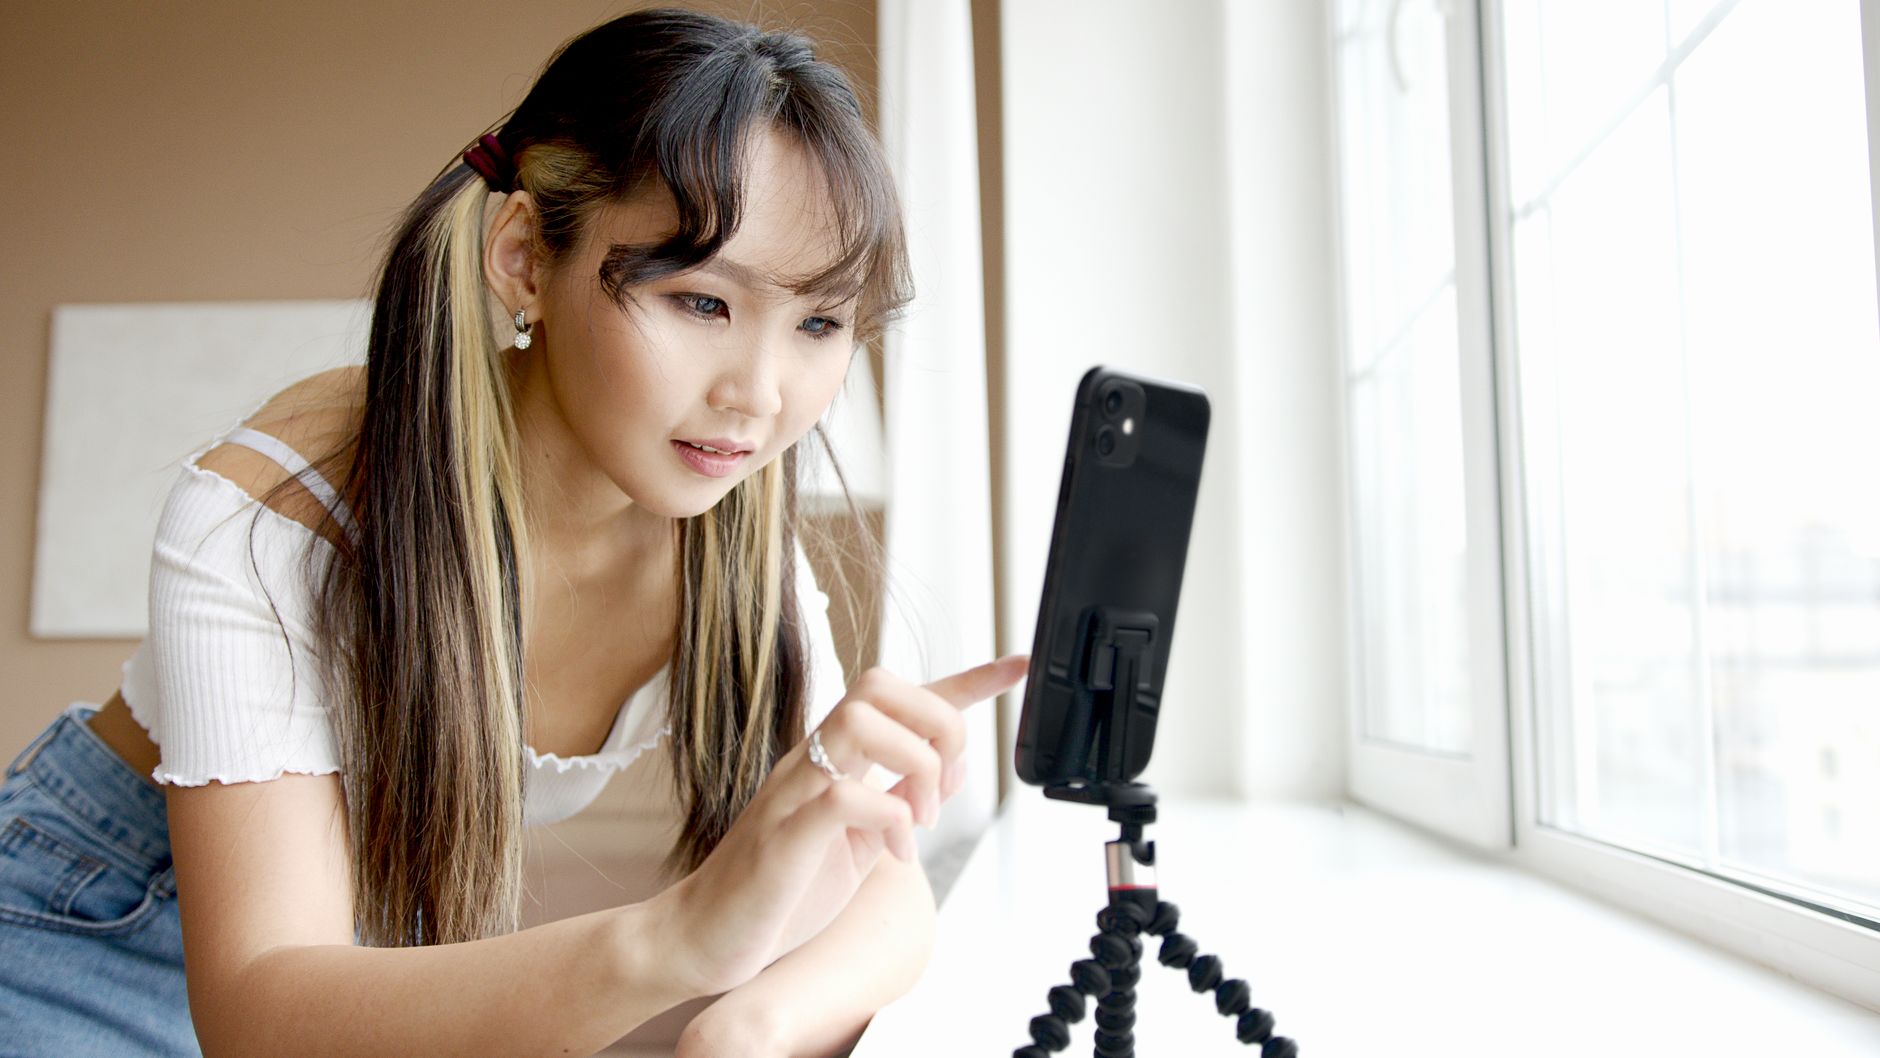
Learning how to film yourself with a phone is mostly about solving one problem: nobody is behind the camera. There is no one to check focus, notice the window behind you or tell you the top of your head is out of shot. Everything a camera operator would catch has to be set up before you press record, then checked on a test clip.
I've written this as the solo routine I'd follow, drawn from the platform guidance from Apple, Google and DJI cited below. It covers the shoot itself. If you are starting a channel from scratch, the editing and uploading side is in my guide to starting a YouTube channel with just a phone.
Should you use the front or rear camera?
Use the rear camera whenever you can. On most phones it has the larger sensor and the better lens, so it holds more detail and copes better in dim rooms. The front camera exists so you can see yourself, and that convenience is its main advantage.
The gap is narrowing. Apple's iPhone 17 front camera, for example, uses a square sensor that lets you shoot landscape or portrait while holding the phone upright, and records stabilised 4K HDR video, according to Apple's iPhone 17 announcement. On a recent flagship the front camera is perfectly usable for talking-head clips. On an older or budget phone, the rear camera is still the clear choice.
My rule: rear camera for anything you plan to keep, front camera for quick clips where seeing yourself matters more than image quality.
How do you see yourself when using the rear camera?
This is the real obstacle, and there are four practical answers.
- A watch or second-device preview. An Apple Watch paired with an iPhone runs Apple's Camera Remote app, which shows the live view and starts recording from your wrist. Some Android phones offer similar controls from a paired watch.
- A test clip. Record ten seconds, walk back to the phone and play it. It is slow, but it catches framing, focus and sound problems at once.
- Floor marks. Once a test clip looks right, put a strip of tape where your feet or chair go. Next time, you sit on the mark and the framing is already done.
- A small mirror. Propped just beside the phone, it shows roughly what the lens sees. It is a rough guide, not a monitor, but it is free.
Whichever you use, the test clip stays. A preview tells you what the frame looks like; only playback tells you what the take sounds like.
Where should the phone sit?
Put the lens at your eye level or very slightly above it. A phone below your chin looks up your nose and makes the room's ceiling the background. A phone well above you makes you look small. A tripod with a phone clamp solves this; a stack of books on a table is a fine stopgap.
For a seated talking-head shot, an arm's length and a bit more is a good starting distance: your head and shoulders fill the frame without wide-angle distortion stretching your face. Leave a little space above your head and keep your eyes roughly a third of the way down the frame.
Choose the orientation before you set up, because it changes everything else. Horizontal (16:9) is the standard for YouTube on a computer, as YouTube's upload settings guidance states. Vertical (9:16) is for Shorts, Reels and TikTok. Filming horizontally and cropping later throws away most of the frame, so if a clip is going vertical, film it vertically.
What settings should you lock before recording?
Pick resolution and frame rate
1080p is plenty to start; 4K gives room to crop. In the UK, choose 25 or 50fps: mains electricity runs at 50Hz, and 30fps can show flicker or banding under some indoor lights. 4K sometimes has to be switched on in the camera settings first.
Keep that frame rate all the way through
YouTube asks for video uploaded at the same frame rate it was recorded, so set your editing project to match. Mixing rates is a common cause of stuttery playback.
Lock focus and exposure on your face
On most phones, a long press on the subject locks both. Sit in position, have the phone lock on you, and the picture will not pump brighter and darker as you move your hands.
Turn off digital zoom
Pinch-zooming crops the sensor and magnifies shake. Move the phone closer instead, or use a dedicated telephoto lens if your phone has one.
Clean the lens and silence the phone
Wipe the lens with a soft cloth, then turn on Do Not Disturb so a call or notification does not end the recording.
Check storage and battery
4K video fills storage quickly. Clear space and start near a full charge, or run the phone from a power bank on long sessions.
Frame rate is the one setting people get wrong most. My explainer on frame rate, shutter speed and the 180-degree rule covers why UK footage behaves differently from the US tutorials most people learn from.
How do you start and stop recording on your own?
Walking to the phone to press record leaves a few seconds of you leaning into frame at the start and end of every clip. That is fine, because you trim it in the edit, but there are tidier options:
- A Bluetooth shutter remote. Small, cheap and paired like headphones. Most phone camera apps accept a remote as the record button.
- A smartwatch. As above, the watch doubles as a preview and a remote.
- A gimbal's own button or gestures. A phone gimbal such as DJI's Osmo Mobile 8 (a motorised three-axis phone stabiliser from drone maker DJI) starts recording from its handle, and the DJI Mimo app adds gesture control, per DJI's Osmo Mobile 8 page.
Whatever you use, start recording, pause for two seconds, then speak. Those two quiet seconds give you a clean cut point and stop the first word being clipped.
How do you light yourself without a lighting kit?
Face a window. Daylight from in front of you and slightly to one side is the best free light there is, and it is what makes phone footage look expensive. The rule is simple: more light in front of you than behind you. A bright window behind you turns you into a silhouette, because the phone exposes for the brightest part of the frame.
Two things undo good window light. The first is mixing it with a warm ceiling bulb, which gives your face two different colours; switch the room lights off. The second is the sun moving: a session that starts in soft light can end in harsh direct sun, so film in shorter blocks. My guide to colour temperature and mixed lighting explains the first problem in more depth.
When you film after dark or in a room with poor windows, a small LED panel replaces the window. The options are in my guide to a portable lighting kit for Reels.
How do you get clear sound when filming yourself?
Viewers forgive soft footage long before they forgive bad audio. The phone's built-in mic is designed for a voice a few centimetres away, so its quality drops quickly as you step back to frame yourself. Every metre of distance adds room echo and background noise.
Free fixes come first: film in a room with soft furnishings, close the windows, and switch off fans and fridges you can hear. After that, a clip-on wireless mic is the biggest single upgrade for anyone filming themselves, because it puts the mic on your chest wherever the phone is.
Avoid pairing a wireless mic straight to the phone over Bluetooth without its receiver. On the original DJI Mic Mini, that direct link drops recording quality from 48kHz/24-bit to 16kHz/16-bit. The full set of options, ranked, is in my best wireless microphone for creators comparison.
Do you need a gimbal to film yourself?
Not for sitting still. A tripod does a static talking-head shot better than a gimbal, because nothing is moving. A gimbal earns its place when you walk and talk, or when you want the phone to follow you around a room. That second use is the reason it suits solo filming: face tracking turns the gimbal into a camera operator that keeps you centred.
Both DJI gimbals below have a tripod built into the handle, so one purchase covers the static shot and the moving one. The Osmo Mobile 7 is the lighter, cheaper entry point with ActiveTrack 7.0 tracking in the DJI Mimo app. The Osmo Mobile 8 adds unlimited 360-degree pan, so it can follow you right round the gimbal, and three ways to track, including Apple DockKit for tracking inside compatible camera apps on an iPhone. With tracking on, DJI rates its battery at about five hours, half the untracked figure.
| DJI Osmo Mobile 7Lighter entry point | DJI Osmo Mobile 8Follows you round the room | |
|---|---|---|
| Best for | Walk-and-talk clips on a budget | Hands-free tracking as you move |
| Tracking | ActiveTrack 7.0 in DJI Mimo | DJI Mimo, Apple DockKit or clip-on module |
| Pan | -99 to +210 degrees | 360 degrees, unlimited |
| Tripod | Built into the grip | Built in, plus extension rod |
| Battery | Up to 10 hours | About 10 hours, 5 with tracking |
| Buy | Buy now | Buy now |
If you only ever film seated, skip the gimbal and spend the money on a mic. If you want a dedicated camera instead of a phone on a stick, my Osmo Pocket 3 vs iPhone comparison weighs that up.
How do you talk to the camera naturally?
Look at the lens, not the screen. With the front camera that means resisting the urge to watch yourself; with the rear camera it is easier, because there is nothing else to look at. A small sticker or dot beside the lens gives your eyes a target.
Do not try to deliver a whole video in one take. Speak in short sections of a sentence or two, and when you fluff a line, pause, then restart the whole sentence rather than the last word. Whole sentences cut together cleanly; half-sentences sound stitched.
If you work from a script, bullet points on a card just below the lens are the low-cost route. A teleprompter that puts the words over the lens is the step up, and my guide to the best teleprompter for an iPhone covers the free apps and the hardware.
What does a solo filming session look like?
Set the room
Face the window, switch off the ceiling lights and anything noisy, and tidy what will sit behind you.
Place the phone
Rear camera, lens at eye level, about an arm's length and a bit away, in the orientation the platform wants.
Set and lock
25 or 50fps, digital zoom off, Do Not Disturb on, then lock focus and exposure on your face.
Fit the mic
Clip the transmitter a hand's width below your chin and check the receiver is plugged in and showing a signal.
Record a test clip
Ten seconds of speaking, then play it back with headphones. Fix whatever is wrong now, not in the edit.
Film in short sections
Start recording, pause two seconds, speak a section, pause again. Restart whole sentences when you stumble.
Check before you pack away
Play back the last clip and one from the middle. A dropped mic or a drifting focus is far easier to fix while everything is still set up.
Frequently asked questions
How do you film yourself with a phone without someone holding it?
Is the front or back camera better for filming yourself?
What frame rate should I use to film myself in the UK?
How can I see myself when filming with the back camera?
Do I need a microphone to film myself on a phone?
Do I need a gimbal to film myself?
Summary
Filming yourself well on a phone comes down to setting up what a camera operator would normally handle: the rear camera at eye level, a window in front of you, focus and exposure locked, 25 or 50fps, and a mic close to your mouth. The test clip is the habit that ties it together. Buy a tripod first, a wireless mic second, and a gimbal only if you film on the move.
Sources
How to start a YouTube channel with just a phone
Vlogging kit UK: what to buy at each step
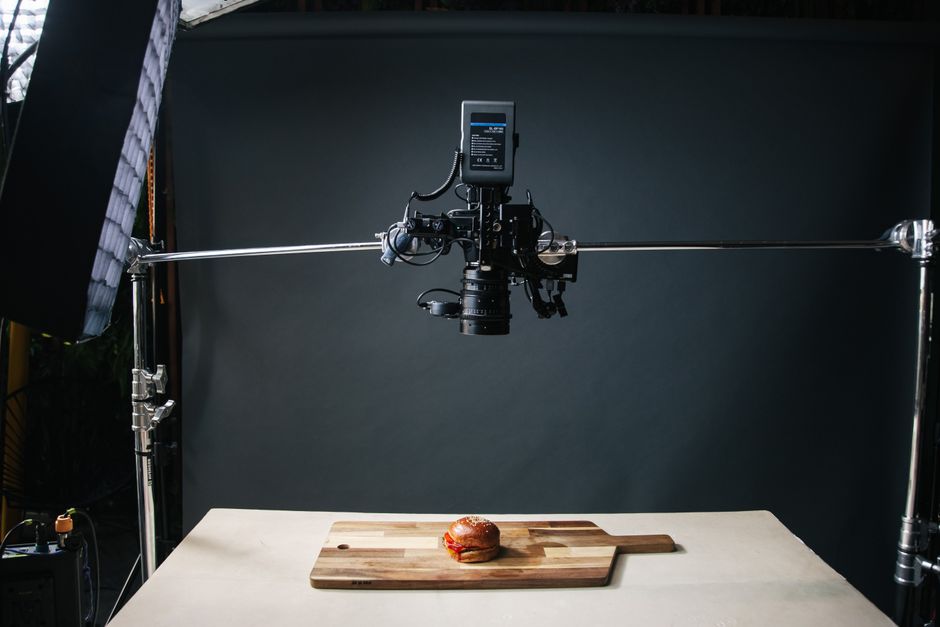
The best way to film overhead on a phone