How to Screen Record on Mac With Audio: Voice and System
How to screen record on Mac with audio: your voice with Shift-Command-5, system sound on macOS 27, and free OBS Studio for older Macs.
Knowing how to screen record on Mac with audio is the first technical hurdle for a voice-led YouTube channel like mine: software walkthroughs, desk b-roll and narration over the top. The catch is that "audio" means two different things on a Mac, and for years Apple's built-in tools only handled one of them.
This is a research guide built from Apple's own documentation and the OBS documentation, not a report of my own recordings. Where a step or a fact comes from a source, I link it. There are no affiliate links on this page.
What does "with audio" mean on a Mac?
There are two separate sounds you might want in a screen recording, and macOS treats them differently:
- Microphone audio is your voice, picked up by the Mac's built-in mic, a USB mic or a headset. Every built-in recording method on the Mac has handled this for years.
- System audio (also called desktop audio or internal audio) is the sound the Mac itself makes: an app's alert chimes, a video playing in the browser, the audio of a game or a music app. Until recently, Apple's own recorders could not capture this at all.
Most "my screen recording has no sound" problems come from mixing these up. You chose a microphone, so your voice is there, but the tutorial video you were demonstrating is silent, because nothing was capturing system audio. Decide which of the two you need before you pick a method:
| What you want recorded | Best method |
|---|---|
| Your voice only | Shift-Command-5 or QuickTime Player, any recent macOS |
| Your voice and the Mac's sound, on macOS 27 or later | Shift-Command-5 with Include System Audio |
| Your voice and the Mac's sound, on macOS 13 to 26 | OBS Studio (free) |
| Your voice and the Mac's sound, on macOS 12 or earlier | OBS Studio plus a virtual audio driver such as BlackHole |
| Separate tracks to edit later | OBS Studio, any supported macOS |
To check your version, open the Apple menu and choose About This Mac.
How do you screen record on a Mac with your voice?
The quickest route is the Screenshot app (Apple's built-in capture tool, opened with a keyboard shortcut rather than from the Dock). Apple's support guide sets out the steps, and they take under a minute:
Press Shift-Command-5
The Screenshot toolbar appears at the bottom of the screen. Pick Record Entire Screen or Record Selected Portion; macOS Tahoe 26 and later adds Record Selected Window.
Open Options and choose a microphone
Under Options, pick the microphone you want: the Mac's built-in mic, or a USB mic if one is plugged in. This is the step that adds your voice. Leave it on None and the recording is silent.
Set the other options
Show Mouse Clicks draws a black circle round the pointer when you click, which helps viewers follow a tutorial. A 5 or 10 second timer gives you time to settle before speaking. Save to changes where the file lands; the desktop is the default.
Click Record
If you chose Record Selected Window, click the window you want instead. Start talking once the recording begins.
Stop the recording
Click the Stop button in the menu bar, or press Command-Control-Esc. A thumbnail appears in the corner: click it to trim, or wait and the file saves as Screen Recording [date] at [time].mov.
Press Esc before you click Record to cancel. On supported Macs running macOS Tahoe 26 or later, Options also offers a choice between SDR (H.264 video, the most compatible) and HDR (HEVC video). For YouTube uploads from a standard monitor, SDR is the safer pick.
How do you record system audio with Shift-Command-5?
From macOS 27 Golden Gate (Apple's 2026 release of its Mac operating system), the Screenshot toolbar finally records system audio itself. According to Apple's guide, you open Options in the same toolbar and choose Include System Audio (the Options setting that adds the Mac's own sound to the recording). Choose a microphone as well and you get both: your voice and the Mac's own sound in one recording.
That single option removes the main reason Mac users installed extra software for screen recording. If your Mac runs macOS 27 or later, start here before trying anything else in this guide.
Two limits are worth knowing:
- Protected apps stay off limits. Apple notes that some apps, the Apple TV app among them, will not let you record their windows. Copy-protected video and music services behave the same way, and that is deliberate, not a setting you have missed.
- Everything lands on one file. Voice and system sound are mixed together, so you cannot lower a loud app chime without also lowering your voice. If you want them on separate tracks for editing, use OBS Studio instead.
Can QuickTime Player record screen audio?
QuickTime Player (Apple's free video player, which also records the screen) can record your microphone with the screen, but Apple's instructions for it list no system audio option. Open it from Applications, then choose File > New Screen Recording or press Control-Command-N.
On current versions of macOS that shortcut hands over to the Screenshot toolbar described above. If you instead see QuickTime's own Screen Recording window, click the arrow beside the Record button to choose a microphone. A volume slider there lets you monitor your voice as you record. Apple warns that monitoring through speakers can cause feedback, so use headphones if you turn it up.
QuickTime opens the recording automatically when you stop, ready to trim. For voice-only recordings it is perfectly usable. For anything that needs the Mac's own sound, it is the wrong tool.
How do you record system audio on a Mac for free?
Use OBS Studio (free, open-source recording and streaming software from the OBS Project, the open-source developer community that maintains it). On macOS 13 Ventura and later it captures system audio without any extra drivers, because from macOS 13 Apple's screen capture framework lets apps record system audio directly.
According to the OBS documentation on macOS desktop audio, OBS Studio 30 and later has a dedicated macOS Audio Capture source. Audio Capture is an OBS input that takes sound straight from the Mac's audio system, and it records either all desktop audio or the sound of one chosen app. The macOS Screen Capture source records the sound of whatever it captures too. The setup for a narrated walkthrough looks like this:
Install OBS Studio and grant permissions
Download it from obsproject.com. On first launch macOS asks for screen recording and microphone permission; allow both under Privacy & Security in System Settings, then restart OBS. System Settings is the Mac's settings app, opened from the Apple menu..
Add a macOS Screen Capture source
In the Sources panel, click + and choose macOS Screen Capture. Pick Display Capture for the whole screen, or Window or Application Capture for one app.
Add your microphone
Add an Audio Input Capture source and choose your mic. It appears in the Audio Mixer alongside the system sound.
Add system audio if you need it separately
Add a macOS Audio Capture source for all desktop audio or for one app, such as the browser you are demonstrating. Capturing one app keeps notification sounds and other apps out of the recording.
Set levels and record
Speak at your normal volume and watch the mixer meters: keep your voice comfortably below the red. Then click Start Recording.
Change one setting before your first real take. The OBS recording output guide recommends recording to MKV, because a crash then costs only the last few moments instead of the whole file. File > Remux Recordings converts MKV to MP4 without re-encoding, or you can switch on automatic remux so OBS converts each file when you stop.
OBS is also the only free method here that can put your voice and the system sound on separate audio tracks, so you can balance them in the edit. In Settings > Output, switch to Advanced mode and tick more than one track; then, in Advanced Audio Properties, assign the mic to one track and the system audio to another.
The current release is OBS Studio 33. According to the OBS release notes, 33.0.0 arrived on 23 October 2026 with better transparency handling in the macOS Screen Capture source and hotkeys for per-source audio monitoring, and a 33.0.1 hotfix followed on 29 October.
What if your Mac runs macOS 12 or earlier?
Before macOS 13, no app could capture system audio on its own. The workaround is a virtual audio driver: software that appears to macOS as an extra sound device, so audio sent to it can be picked up by a recorder as if it came from a microphone.
The common free choice is BlackHole (an open-source virtual audio driver from Existential Audio, compatible back to macOS 10.10 Yosemite according to its GitHub page). The OBS guide also names VB-CABLE, a similar free driver. The routing works in two steps, both in Audio MIDI Setup (Apple's built-in utility for audio devices, in Applications > Utilities):
- Create a Multi-Output Device. Click +, choose Create Multi-Output Device, and tick both your speakers or headphones and BlackHole. Set it as your sound output. You now hear the Mac as normal while the same audio flows into BlackHole. BlackHole's documentation says the built-in output should be ticked and listed first.
- Record from BlackHole. In OBS, set the Desktop Audio device to BlackHole and add your mic as a separate input. To use QuickTime instead, create an Aggregate Device in Audio MIDI Setup that combines your mic and BlackHole, then choose that aggregate as QuickTime's microphone.
One quirk catches almost everyone: macOS cannot change the volume of a Multi-Output Device, so the volume keys stop working while it is selected. BlackHole's own FAQ confirms this and suggests setting each device's level in Audio MIDI Setup. Switch your output back to your normal speakers when you finish recording.
If you would rather avoid the routing entirely, Loopback (a paid audio routing app from Rogue Amoeba) and Sound Siphon both handle per-app capture with a simpler interface. The OBS guide lists both, alongside the free drivers.
Why is there no sound in my Mac screen recording?
Work through these in order. Most silent recordings come from the first two.
- No microphone chosen. In the Screenshot toolbar, Options defaults to None for the microphone. Choose your mic before every new session.
- Expecting system audio from a tool that cannot record it. Before macOS 27, the Screenshot toolbar and QuickTime record only the microphone. Holding the Mac's speaker up to the mic is not a fix; use OBS.
- Permissions not granted. System Settings is the Mac's settings app. Under Privacy & Security there, check that the recording app is allowed under the screen recording setting and under Microphone. Restart the app after changing either.
- Protected content. Streaming services and some apps block capture, so their windows or sound record as blank or silent by design.
- Output switched to a virtual device. If you set up BlackHole earlier, check your sound output in System Settings. A Multi-Output Device with the wrong boxes ticked can send audio nowhere you can hear.
How do you get good-sounding voice in a screen recording?
The recording method decides whether the audio is captured; the mic and the room decide whether it sounds any good. A MacBook's built-in microphone sits next to the keyboard and trackpad, so every click and keypress in a tutorial lands right next to your voice.
Three changes do most of the work:
- Use an external mic. A USB mic plugs straight into the Mac and shows up in the Screenshot toolbar's microphone list with no setup. My guide to a budget microphone for voiceover compares the shortlist, and what a dynamic microphone is explains why a dynamic suits an ordinary room.
- Set your level once. Speak at your normal volume and keep the peaks well clear of the top of the meter. The gain staging guide covers how.
- Consider recording the voice separately. For scripted videos, capture the screen first, then record the narration against the edit. Retaking a sentence is far easier than retaking a whole walkthrough. The method is in how to record voiceover at home.
When you export, keep audio at 48 kHz. YouTube's recommended upload settings list 48 kHz or 96 kHz as the audio sample rates, with AAC-LC as the codec.
Can you use system audio from other videos on YouTube?
Capturing system audio is easy now. Using it in a monetised video is a separate question. YouTube's channel monetisation policies treat reused content (someone else's material without significant original commentary or editing) as ineligible for monetisation, even with the original creator's permission. A screen recording of another person's video with little added beyond your reactions falls on the wrong side of that line.
A tutorial that records an app's own interface sounds, or a walkthrough with your narration and editing doing the teaching, is a different thing. The sound supports your original content rather than being the content. My faceless YouTube channel setup guide covers YouTube's inauthentic content policy in more detail.
Which method should you choose?
For most people starting a channel in 2026, the answer depends only on the macOS version:
- macOS 27 or later: Shift-Command-5, a microphone chosen in Options, and Include System Audio ticked. Move to OBS only when you want separate tracks or a camera overlay.
- macOS 13 to 26: OBS Studio, with macOS Screen Capture, your mic and, if needed, a macOS Audio Capture source for one app.
- macOS 12 or earlier: OBS Studio with BlackHole and a Multi-Output Device, or a paid router such as Loopback.
- Voice only, any version: Shift-Command-5 with a microphone chosen is all you need.
Whichever you pick, run the 10-second test recording first. It is cheaper than discovering a silent track after an hour of walkthrough.
Frequently asked questions
How do I screen record on Mac with internal audio?
Why does my Mac screen recording have no sound?
Does QuickTime record internal audio on a Mac?
Can I record my voice and the Mac's sound on separate tracks?
Where do Mac screen recordings save?
How do I stop a screen recording on a Mac?
Sources
Faceless YouTube channel setup
How to record voiceover at home
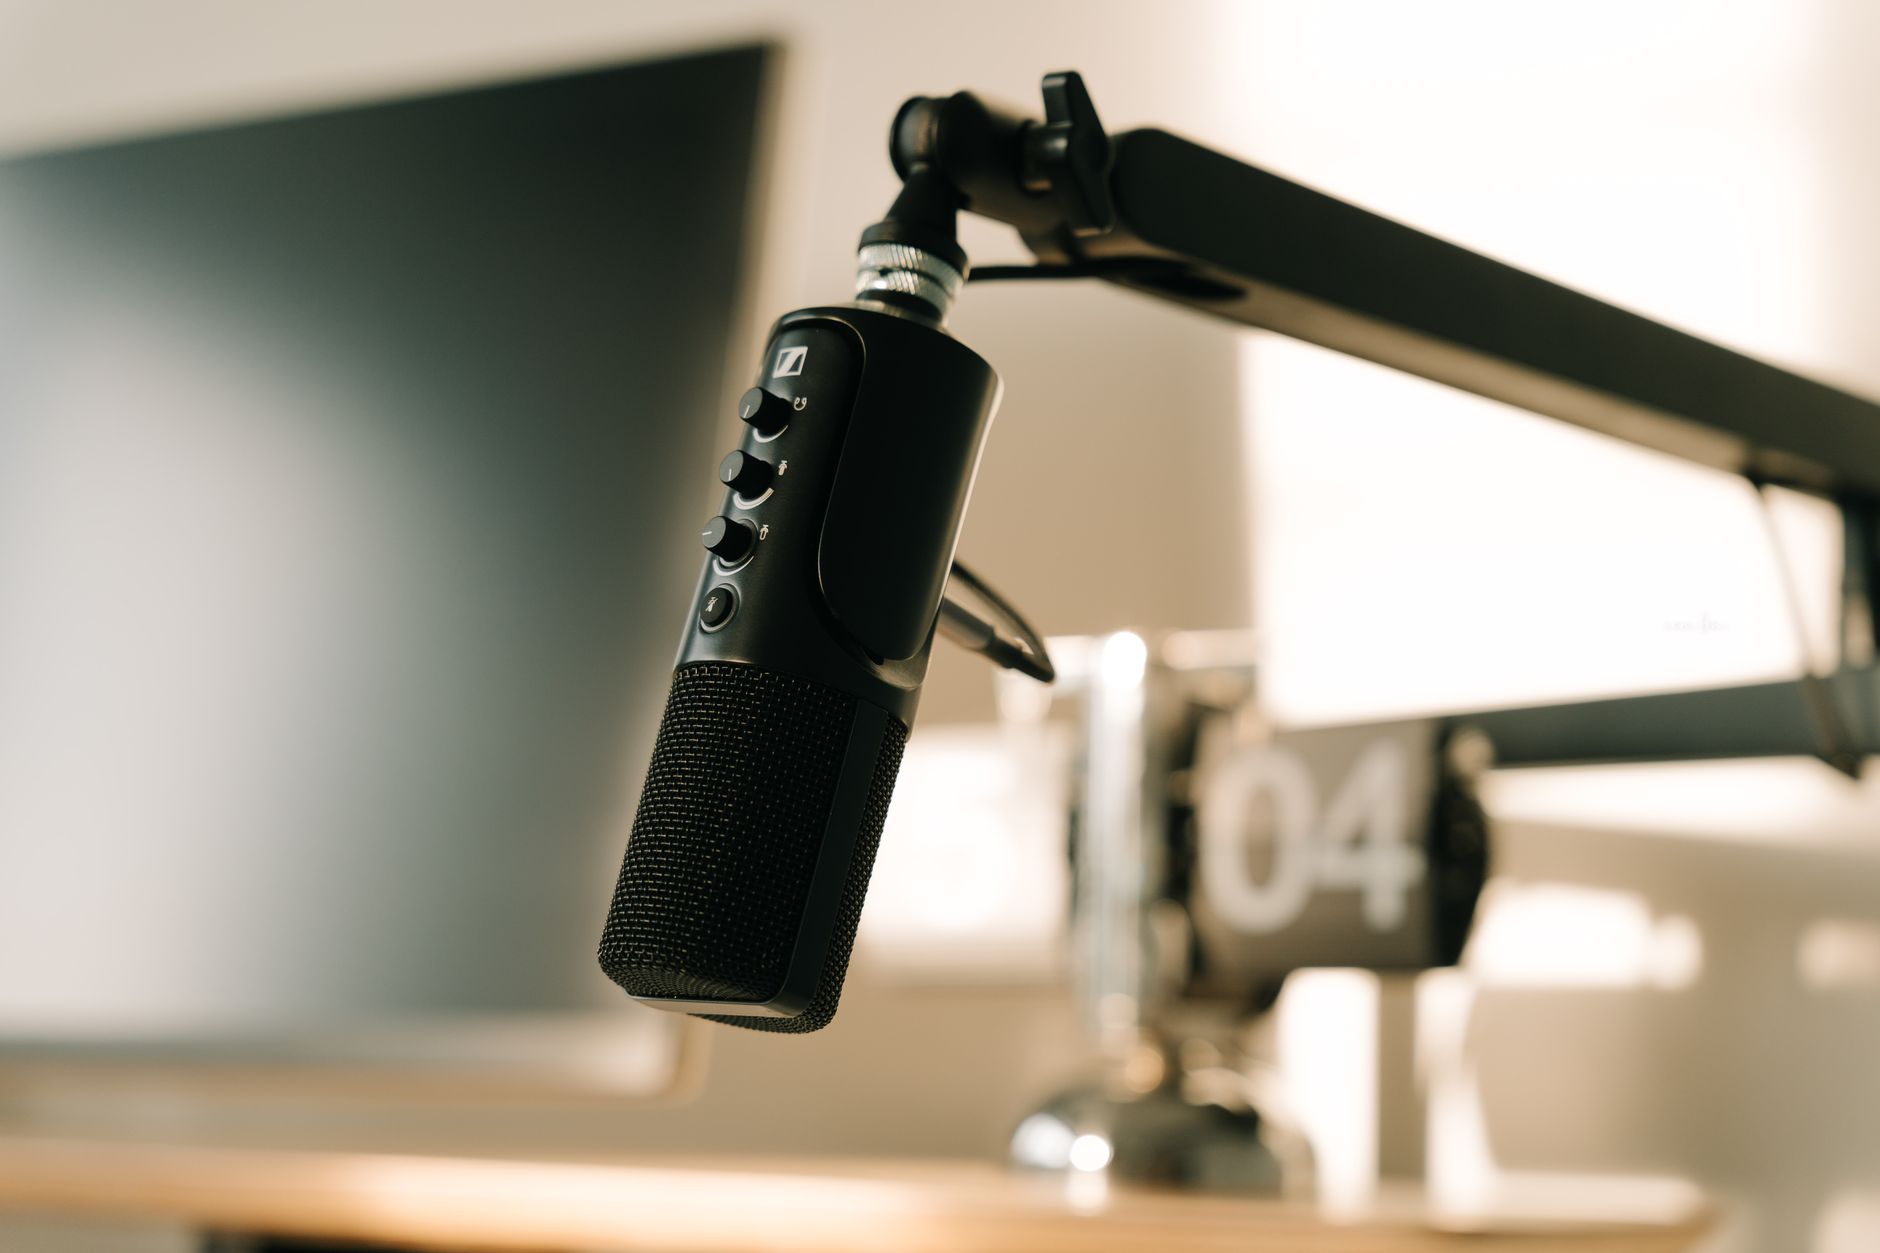
Budget microphone for voiceover