Budget Lighting for Product Videos: The Kit I Bought
Budget lighting for product videos: softbox kits, light tents and LED boxes compared on CRI, watts and flicker, and the £92 setup I bought.
Budget lighting for product videos was the next decision in kitting out my beginner YouTube channel. The channel is mostly voice-led, so a lot of what you will see is product b-roll on my desk: the kit I review here and on the other sites I write for. Good light matters more for that footage than any camera upgrade I could afford.
This post explains what product lighting has to do, the terms you will meet on every listing, the budget options I compared, and the two items I bought. I have bought them but not yet filmed with them, so everything below about how they perform comes from the listings and published guides, linked as I go. Links to Amazon UK are affiliate links: if you buy through one, Creator Kit Lab earns a small commission at no extra cost to you. Prices are as I found them on 3 November 2026 and move daily, so check the current price before you buy.
Which lighting terms do you need to know first?
- Softbox: a fabric box with a reflective lining and a white diffusion panel on the front. It turns a small, harsh bulb into a large, soft source.
- Key light and fill light: the key is the main light on the subject. The fill sits on the other side at lower power and lifts the shadows the key leaves. That is why budget kits come as a 2-pack.
- Bi-colour: a light whose white can be set from warm (orange) to cool (blue). Colour temperature is measured in kelvin (K): around 2700-3000K is warm room light, around 5500-6500K is daylight from a window.
- CRI (colour rendering index): a score out of 100 for how faithfully a light shows colours. For products, where the colour of the thing is the point, look for 95 or above.
- Real watts vs "equivalent" watts: real watts are what an LED bulb draws. "Equivalent" compares it with an old filament bulb and inflates the number. Compare real watts.
- E27 vs Bowens mount: E27 is the ordinary screw-in bulb socket inside most budget softboxes. Bowens is the bayonet mount studio LED heads use. The two are not interchangeable.
- Light tent: a cube of translucent fabric you put a product inside and light from outside, so light arrives from every side.
- Flicker or banding: dark bars rolling through video, caused when an LED switches on and off faster than your eye notices but not faster than the camera does.
What does product video lighting need to do?
Product footage asks three things of a light. It has to be soft, it has to show colour accurately, and it has to stay steady on video.
Soft. A small source throws hard-edged shadows and bright hotspots on shiny surfaces. A large source wraps around the product and fades its shadows gently. Size relative to the subject is what counts, and SmallRig's softbox guide puts it simply: the bigger the softbox, the softer the light. On a tabletop, a 50 cm box is already large next to a phone, a mic or a mini PC.
Accurate. A reader buying a product wants to see its real colour. A low-CRI light shifts colours, and mixing two lights at different colour temperatures (a cool LED and a warm ceiling bulb, say) gives a product one colour on one side and another on the other. My guide to colour temperature and CRI goes deeper on both.
Steady. ENTTEC (a lighting-control manufacturer) explains that nearly all LEDs dim by pulse-width modulation (PWM), switching fully on and off many times a second. Your eye averages that into steady light, but a camera samples it, and when the timings do not line up the footage shows rolling bands. Phones, with their rolling shutters, are the cameras most exposed. The frame rate and shutter speed guide covers the settings side.
Softboxes, a light tent or an LED light box: which fits?
Under about £100, product lighting comes in three shapes. Each suits a different kind of shoot.
| Option | Typical UK price | Best at | Limits |
|---|---|---|---|
| Two-softbox kit (E27 bulbs, stands, remote) | £60-70 | Directional light with shape; items of any size; talking-head shots too | Needs floor space for two stands and positioning every time |
| Unlit fabric light tent (60 cm) | £30-33 | Even, almost shadowless light; consistent results across a batch | Needs outside lights; flat look; items up to about 60 cm |
| LED light box (40 cm, USB) | £25-30 | Works alone on a desk with no stands | Small; lower CRI claims; built-in LEDs of unknown flicker behaviour |
A light tent (Wikipedia defines it as a box used to photograph objects without casting shadows) and a pair of softboxes are not rivals. The tent is a modifier: it still needs light from outside, and a softbox pair is a good source for it. That is the combination I chose, and it is why I put the two purchases in one post.
Which budget softbox kits did I compare?
I set myself a budget for the lights before I compared anything. Most kits in that range are the same design: two square or rectangular softboxes with an E27 socket inside, an LED bulb in each, two stands and a remote. They differ on bulb power, colour range, CRI and box size.
The RALENO Softbox Photography Lighting Kit (RALENO is a Chinese maker of budget photo lighting) is a 2-pack of 50×50 cm softboxes with two 50W dimmable LED bulbs. The listing states a 2500K-7500K colour range, a CRI of 97 or more, a 2.4GHz wireless remote and reverse-folding stands that run from 68 to 200 cm. It was rated 4.4 out of 5 from 784 ratings on Amazon UK when I checked.
- Pros: the highest CRI claim and the widest colour range of the kits I compared; real 50W bulbs rather than an "equivalent" figure; a large ratings base for a budget kit; the remote adjusts brightness and colour without walking round the stands.
- Cons: no stated lux figure, so output is hard to compare like for like; 50 cm boxes are a touch smaller than some rivals' 60 cm; E27 sockets mean the boxes will not take a Bowens-mount LED head if you upgrade later.
The kit I first had in mind was the NEEWER NK103, a 2-pack of 60 cm bi-colour softboxes with a stated CRI of 95. On paper it is a close match for the RALENO with slightly larger boxes. On Amazon UK it cost roughly twice as much as the RALENO when I compared kits, well above my budget, so it dropped out. Several other two-light kits I looked at were listed as unavailable, which narrowed the field further.
Which light tents did I compare?
For the tent, the real choice is between an unlit fabric cube, lit from outside, and a self-lit LED light box. I set myself a tighter budget for it than for the lights.
The Neewer 60×60 cm Photo Studio Shooting Tent (Neewer is a long-running Chinese photo-accessory brand) is an unlit cube of white nylon with a detachable front panel slit for a lens, four backdrops (red, dark blue, black and white) and a carry case. It was rated 4.0 out of 5 from about 3,700 ratings on Amazon UK.
- Pros: 60 cm takes larger products, such as a NAS, a mini PC or a padel racket laid diagonally; no built-in LEDs, so the flicker risk comes only from the lights you choose; by far the largest ratings base of the tents I compared.
- Cons: useless without outside lights; fabric tents arrive creased and need ironing or steaming; the spring frame needs room to unfold and pack away.
A near-identical generic 60 cm shooting tent with the same four backdrops was rated 4.2 out of 5 from 94 ratings. It is a slightly cheaper twin of the Neewer, with a much thinner review record behind it.
The self-lit option was the BENOISON 40 cm Light Box (BENOISON is a Chinese accessory seller), a folding 40×40×30 cm box with 120 built-in LEDs, three lighting modes, six PVC backdrops and USB power. It was rated 4.4 out of 5 from about 1,170 ratings on Amazon UK.
- Pros: works alone on a desk, with no stands; top and front openings for overhead and straight-on shots; wipe-clean PVC backdrops rather than fabric.
- Cons: its spec table states a CRI of 80, low for showing product colour; 40 cm fits small items such as rings, earbuds or a Raspberry Pi but not much larger; how its built-in LEDs behave on video is unknown, so test before relying on it.
What did I buy, and why?
I went with the RALENO 2-pack, as it is good value and well reviewed. I paid £59.99; it was £69.99 when I checked again for this post.
Out of the light tents, I went with the Neewer 60 cm. Its size covers more of the products I review across my sites, and the RALENO pair lights it, so there are no built-in LEDs to worry about on video. I also bought a backdrop sweep, which overlaps with the tent. Getting the products and doing the reviews to complete this series matters more to me than avoiding that overlap.
Together the lights and tent came to about £92 at the prices I paid. If you only shoot small items and have no room for stands, the BENOISON light box is the simpler buy, as long as you accept its lower CRI and test it for banding first.
How should you set up budget lights for a product shot?
These are the standard starting positions from the guides I read. They are a place to begin, then adjust while watching the camera preview.
- Kill the room light. Switch off ceiling bulbs and close the blinds if you can, so the only light on the product is the light you control. That removes most mixed-colour problems at a stroke.
- Set both lights to the same colour temperature. With a bi-colour kit, pick one value (5600K is a common daylight setting) and set the camera's white balance to match rather than leaving it on auto.
- Key at about 45 degrees. Put the key light in front of the product and about 45 degrees to one side, a little above it. Put the fill on the other side at lower power, or further back.
- Bring the lights close. A softbox close to a small product is a large source relative to it, so the light is softer. Moving it away makes it smaller and harder.
- For the tent, light through the walls. Place a softbox either side of the tent, or one either side and one above if you have a third light, and shoot through the front opening.
- Run LEDs bright. Banding is worst at low dimmer settings. Keep the lights near the top of their range and control exposure from the camera instead.
- Shoot a test clip. Film ten seconds, then play it back on a large screen and look for rolling bars or a slow pulse before you film the real take.
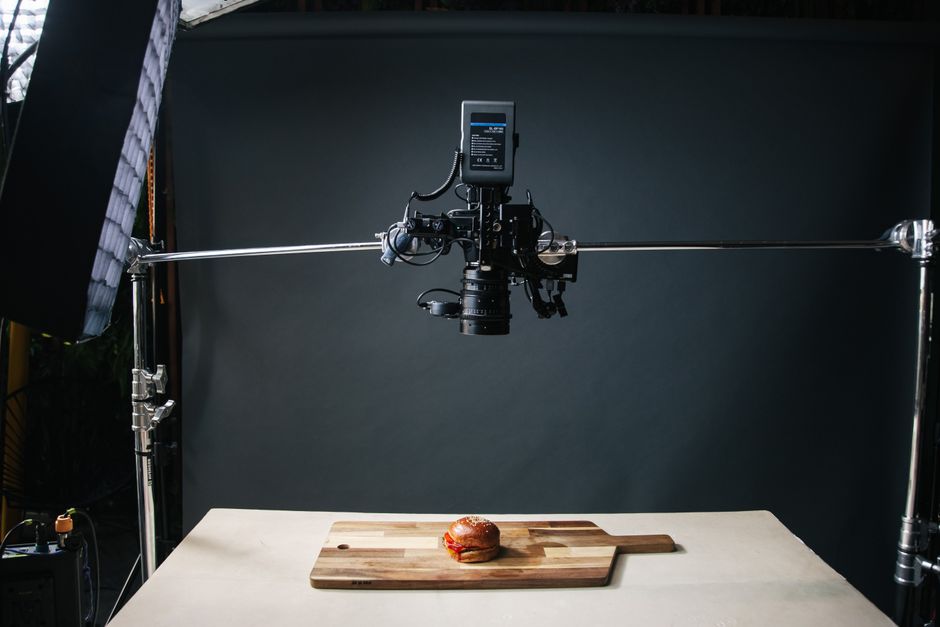
For top-down shots, the light goes above or behind the camera, and the camera itself needs a steady mount. My guide to the best way to film overhead on a phone covers the rigs.
What are the common budget lighting mistakes?
- Buying on "equivalent" watts. A bulb sold as "200W" can draw a fraction of that. Read the real wattage in the listing's specs, not the headline.
- Ignoring CRI. A cheap light with a low CRI saves a few pounds and costs you accurate colour on every product you film.
- Mixing light sources. One window, one ceiling bulb and one LED give three colours of white. Match your lights or remove the others.
- Expecting a tent to fix shiny products. Glass, chrome and jewellery reflect their surroundings, and a tent reflects as a white box. Diffusion softens light but does not remove a reflection caused by where the light sits.
- Forgetting the upgrade path. E27 softboxes take screw-in bulbs only. If you expect to buy a Bowens-mount LED head later, budget for new modifiers too.
If you also film on the move, my portable lighting kit guide covers panels, ring lights and small COB lights, which travel better than a softbox pair.
Frequently asked questions
Do I need two lights for product videos?
Is a light tent or softboxes better for product videos?
What CRI do I need for product videos?
Why does my LED light flicker on my phone video?
Can I use window light instead of buying lights?
Sources
Colour temperature and CRI
The best way to film overhead on a phone
Portable lighting kit for Reels