Light Tent vs Backdrop Sweep: Do You Need Both?
Light tent vs backdrop sweep: what each does for product shots, which items fit, who each suits, and why I bought both for this series.
Light tent vs backdrop sweep is a question I asked myself while putting together my beginner YouTube channel kit: did I need both a light tent and a backdrop sweep? I bought both anyway, the Neewer 60 cm light tent and a 100x200 cm white PVC sweep, because getting the products and doing the reviews for this series matters more to me than avoiding the overlap. That is a reason that fits my situation, not most readers', so this post sets out what each one does and who each suits, so you can buy one rather than two.
This series follows a channel from nothing to content creator. The channel is mostly voice-led with some on-camera videos, and the same kit shoots the product footage for reviews I write on other sites. Everything below about how tents and sweeps behave comes from published photography guides and Amazon UK listings, linked as I go, not from shooting with either yet. Links to Amazon UK are affiliate links: if you buy through one, Creator Kit Lab earns a small commission at no extra cost to you. Prices move daily, so check the current price on Amazon UK before you buy.
Which terms do you need to know first?
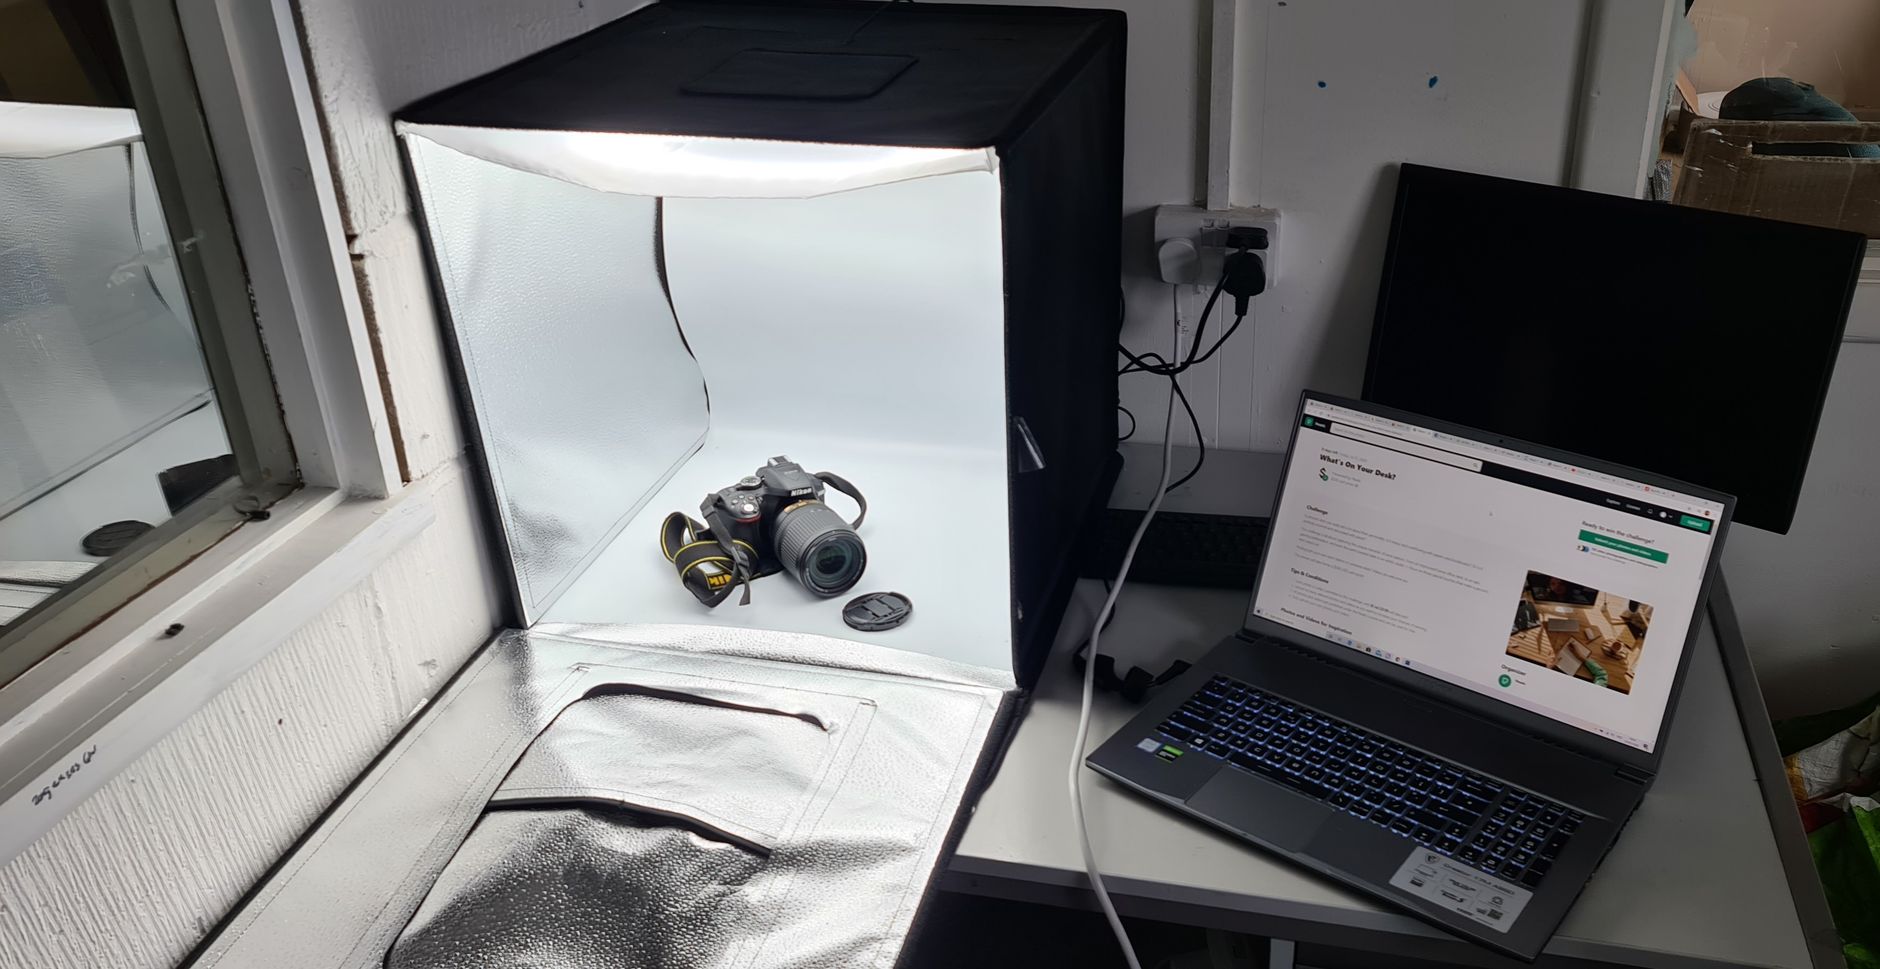
- Light tent (also sold as a light box, photo tent or light cube): a box with thin white walls that you put a product inside and film or photograph through an opening in the front. My explainer on what a light tent is covers the types.
- Diffusion: spreading light out by passing it through a translucent material, such as a tent wall. The whole wall glows, so light reaches the product from a wide area.
- Shadowless: what listings call the result of that diffusion. Light arrives from almost every side, so the product casts almost no shadow.
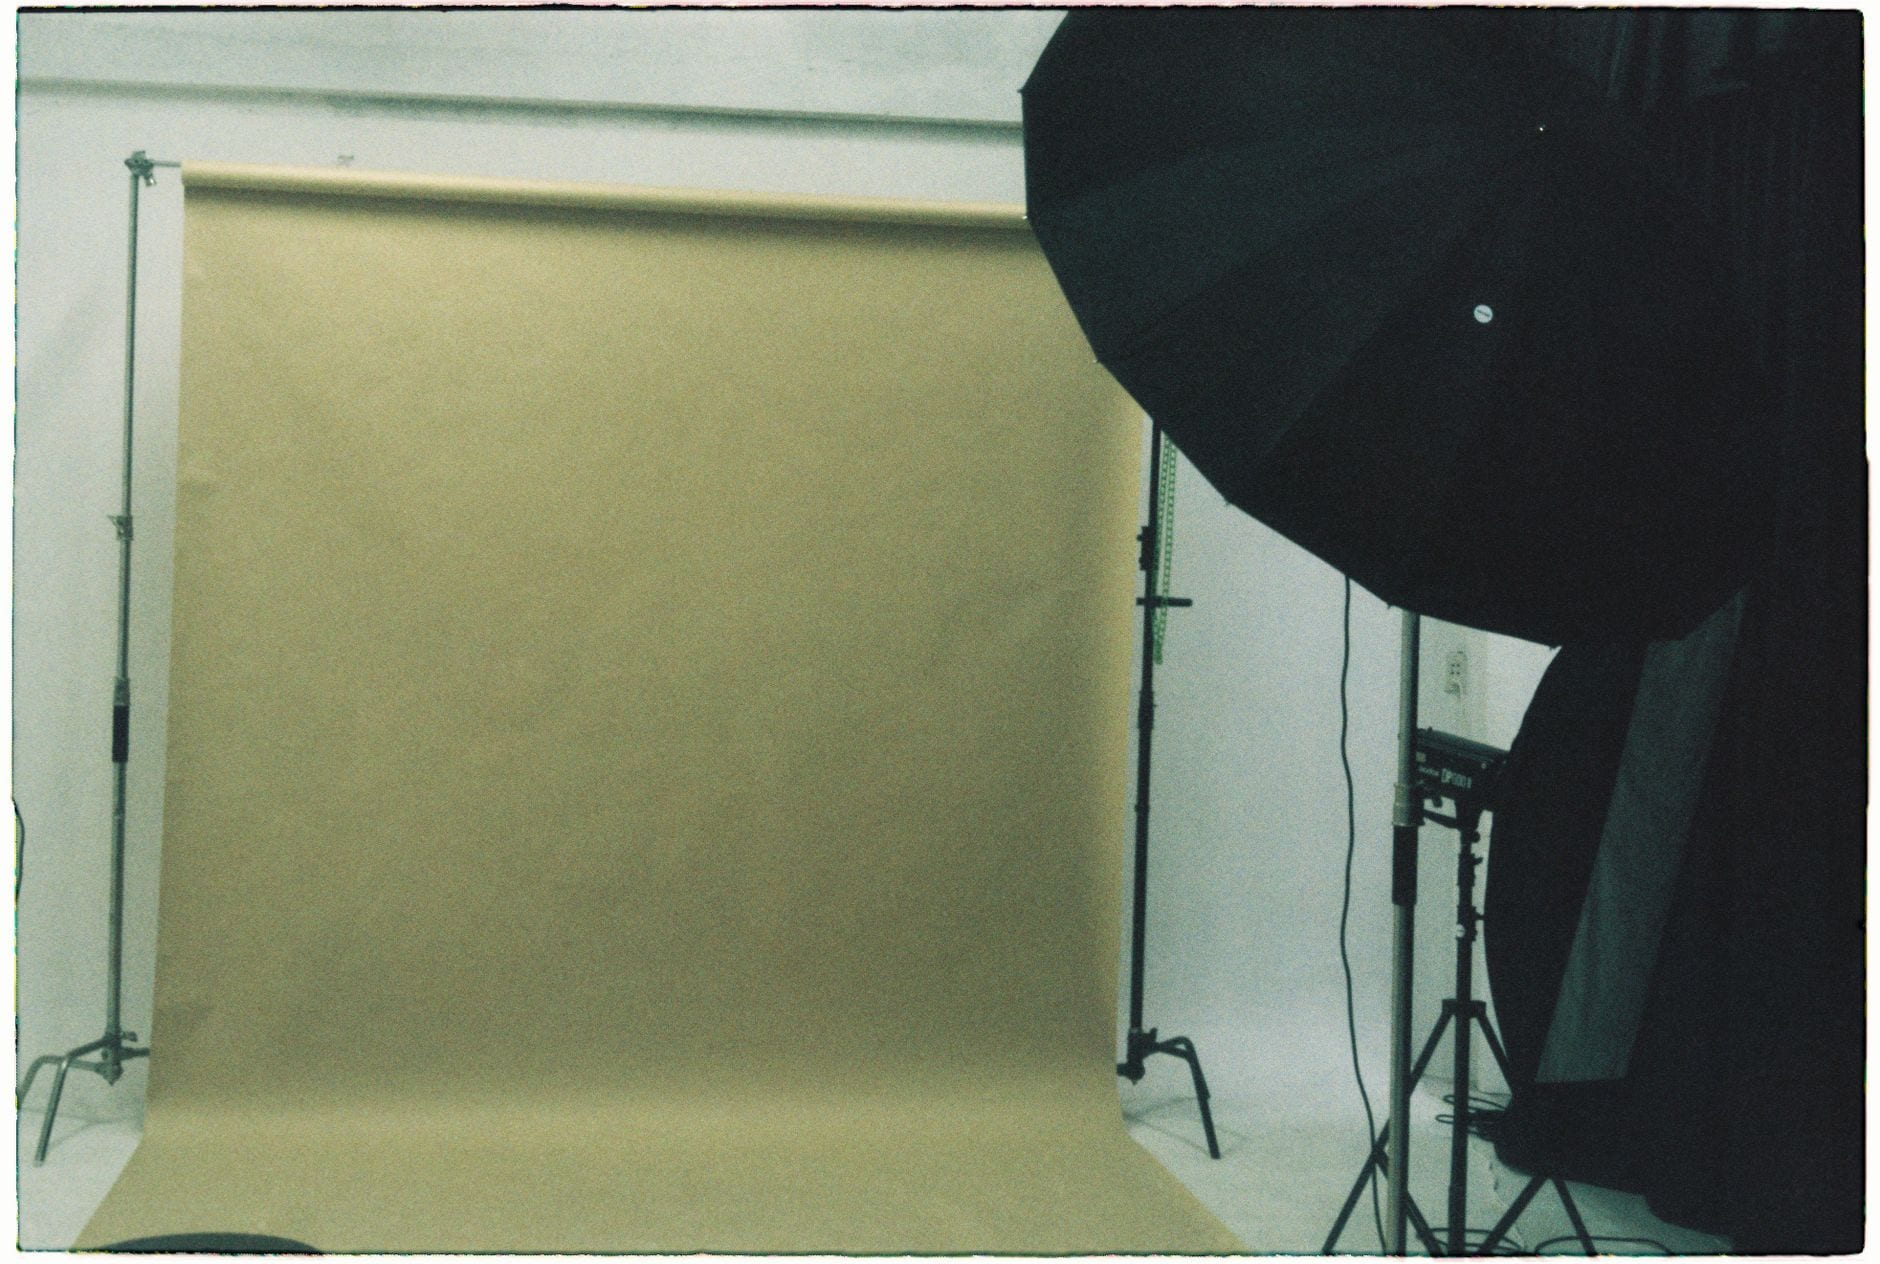
- Seamless backdrop or sweep (also called an infinity curve): one continuous sheet that runs flat under the product and curves up behind it, with no line where the table meets the wall. My explainer on what a seamless backdrop is goes deeper.
- Softbox: a lamp inside a fabric box with a white diffusing front, which turns a small, harsh bulb into a large, soft source of light. See what a softbox is.
- Directional light: light that clearly comes from one side, so the product has a brighter side and a darker side. That contrast is what shows its shape and texture.
- Key and fill: with two lights, the key is the main, brighter one and the fill is the weaker one on the other side that lifts the shadows. The difference in brightness between them is the key-to-fill ratio.
- Matte vs glossy: a matte surface scatters light evenly, while a glossy one reflects it, so lights show up on it as bright patches called hotspots.
What does a light tent do well, and where does it fall short?
A light tent makes small products easy to light evenly. Wikipedia's entry on light tents describes the walls diffusing the light so it reaches the object from every side with almost no shadow. SLR Lounge, a photography education site, describes a tent as a lighting equaliser: wherever you put the lights, the result comes out fairly well lit. It also found that a tent took less time to set up than a custom lighting arrangement and kept shots consistent across a batch. Imagen, a maker of photo-editing software, makes the same point: a light box lets you repeat a setup exactly, time after time.
The downside of that evenness is flatness. With light from everywhere, there is little shadow to show a product's shape. Videomaker, a video production magazine, warns that experienced photographers can spot tent lighting at a glance, and recommends some subtle shadowing for a more natural look. Size is the other limit. A tent is a box, so nothing bigger than the box fits, and Imagen's rule of thumb is a box at least 30 cm taller and wider than the largest item. Budget tents in the UK are 40 cm or 60 cm cubes, so about 60 cm is the ceiling, and in practice the comfortable size is smaller.
What does a sweep with two softboxes do instead?
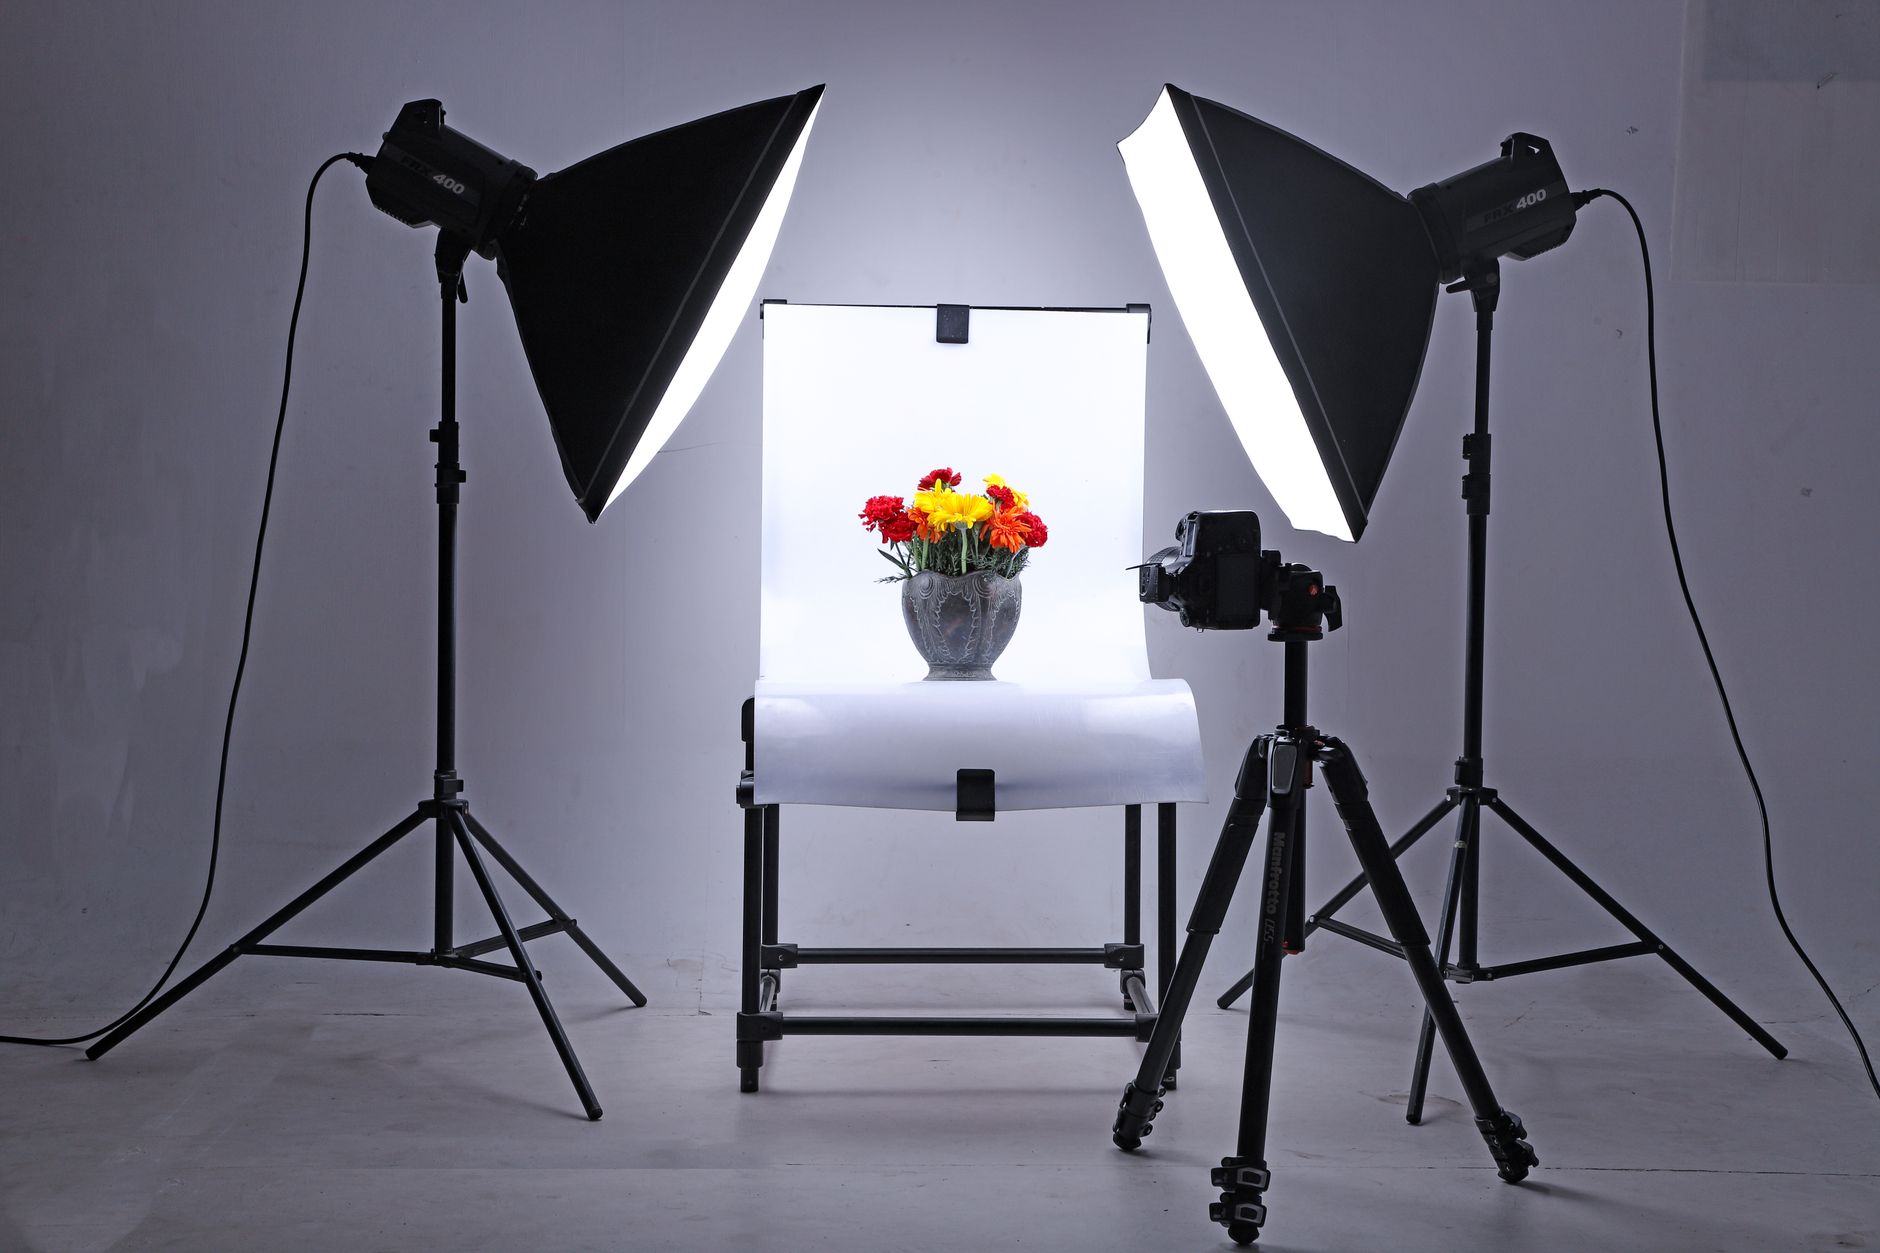
A sweep is only a background. The light comes from the softboxes you place around it, and that is where both its strength and its extra work come from. NEEWER's guide to softbox kits for product photography (NEEWER is a Chinese maker of photo and video lighting) sets out the standard layout: the key softbox at 45 degrees to one side, a little above the product and angled down, about 50 to 70 cm away, with the fill on the opposite side at product height.
The fill is what decides the look. NEEWER explains that one softbox alone leaves a shadow on the far side of the product, and a second light removes it. It suggests the fill at 40 to 50% of the key's brightness: less fill gives more depth, and more fill gives a flatter, catalogue look. So a sweep can get close to a tent's even look when you want it, or keep some shadow for shape when you don't. The curve itself, as Arqspin (a maker of 360-degree product photography software) explains, is there to hide edges and shadows behind the product. NEEWER also advises at least 30 cm between the product and the backdrop, or the background turns a flat grey.
The cost is setup. Two stands at measured angles and distances, and a brightness ratio between them, have to be placed each time unless you can leave them standing. No source I found timed a two-softbox sweep against a tent, but the tent's whole appeal in SLR Lounge's account is that the placement matters far less.
Light tent vs backdrop sweep: how do they compare?
| Light tent | Sweep with two softboxes | |
|---|---|---|
| Light | Even and almost shadowless, but flat | Directional, with shadow you control through the fill |
| Largest item | About 60 cm on a budget tent, less in practice | Set by the sheet: a 100x200 cm sheet takes much bigger items |
| Setup | Fast; the tent evens out rough light placement | Lights positioned each time unless left standing |
| Repeatability | The same look shot after shot | Repeatable if you note the positions |
| Behind you on camera | No: too small for people | Yes, as a plain head-and-shoulders background |
| Shiny items | Poor: the white walls reflect all round | Better: lights can move to control reflections |
| Lights needed | Two lights for an unlit tent, or none for an LED box | Two softboxes |
Which products fit in each?
A 60 cm tent suits small and mid-sized items: earbuds, a phone, a small mini PC or a Mac mini. Something long, such as a padel racket at around 46 cm, is about as far as it goes. A 40 cm LED box is for rings, jewellery and small electronics only.
A sweep is limited by the sheet rather than a box. Budget tabletop PVC sweeps run from 100x40 cm to 100x200 cm, and fabric reaches room scale. The sheet has to fill the frame at the lens you film with, and a phone's main camera or an action camera sees far more background than a camera zoomed in, so buy bigger than the product suggests if you film wide. I set this out in more detail in my post on the cheap product photography backdrop I chose.
Can either one be a background behind you on camera?
Only the sweep. Imagen notes that a standard light box is too small for portraits of people, so a tent only ever serves close-up product shots. A 2 m PVC sheet is long enough to run from a desk up the wall, or to hang flat behind a seated presenter as a plain head-and-shoulders background. Savage Universal, a US maker of studio backdrops, points out that the backdrop colour is the first thing viewers notice, and that keeping to two or three colours builds a recognisable channel look. If you plan any on-camera videos, that double use counts for the sweep. If you want a whole person in shot, or a green screen, a large fabric backdrop is the better tool, as my backdrop post explains.
For video, the surface matters too. A matte sheet suits continuous lights, and a glossy one shows hotspots. The 100x200 cm sheet I chose does not say on its listing whether it is matte or glossy, so that is something to check when it arrives.
What about shiny products like glass or jewellery?
This is where a tent struggles most. SLR Lounge says that for highly reflective objects such as glass and jewellery, a good shot inside a light tent is close to impossible, and Imagen adds that shiny items reflect everything around them, including the lights and the camera. ExpertPhotography's guide to reflective surfaces explains why: light reflects off a surface at the same angle it arrives, so the fix is to move the lights beside or behind the subject and use white or silver bounce cards (pieces of card that reflect light back in) to fill the dark areas. A sweep with lights on stands lets you do that. NEEWER's guide, for example, places the key softbox above and slightly behind a reflective product.
Why did I buy both?
I asked myself whether I needed both, and bought both anyway, because getting the products and doing the reviews for this series matters more to me than avoiding the overlap. That is a reason most readers do not have. If you are not reviewing the kit itself, the overlap is real: both give a product a clean, plain background, and for most beginners one of them is enough.
These are the three pieces in my setup. Prices move daily, so check the current price on each listing before you buy:
- The Neewer 60x60 cm shooting tent: an unlit 60 cm pop-up cube with four backdrops. The reasoning is in my budget light tent post.
- The Photography Studio 100x200 cm white PVC backdrop. I don't have an 80 cm deep desk, and it was the larger of the two PVC options and well reviewed. The comparison is in my cheap backdrop post.
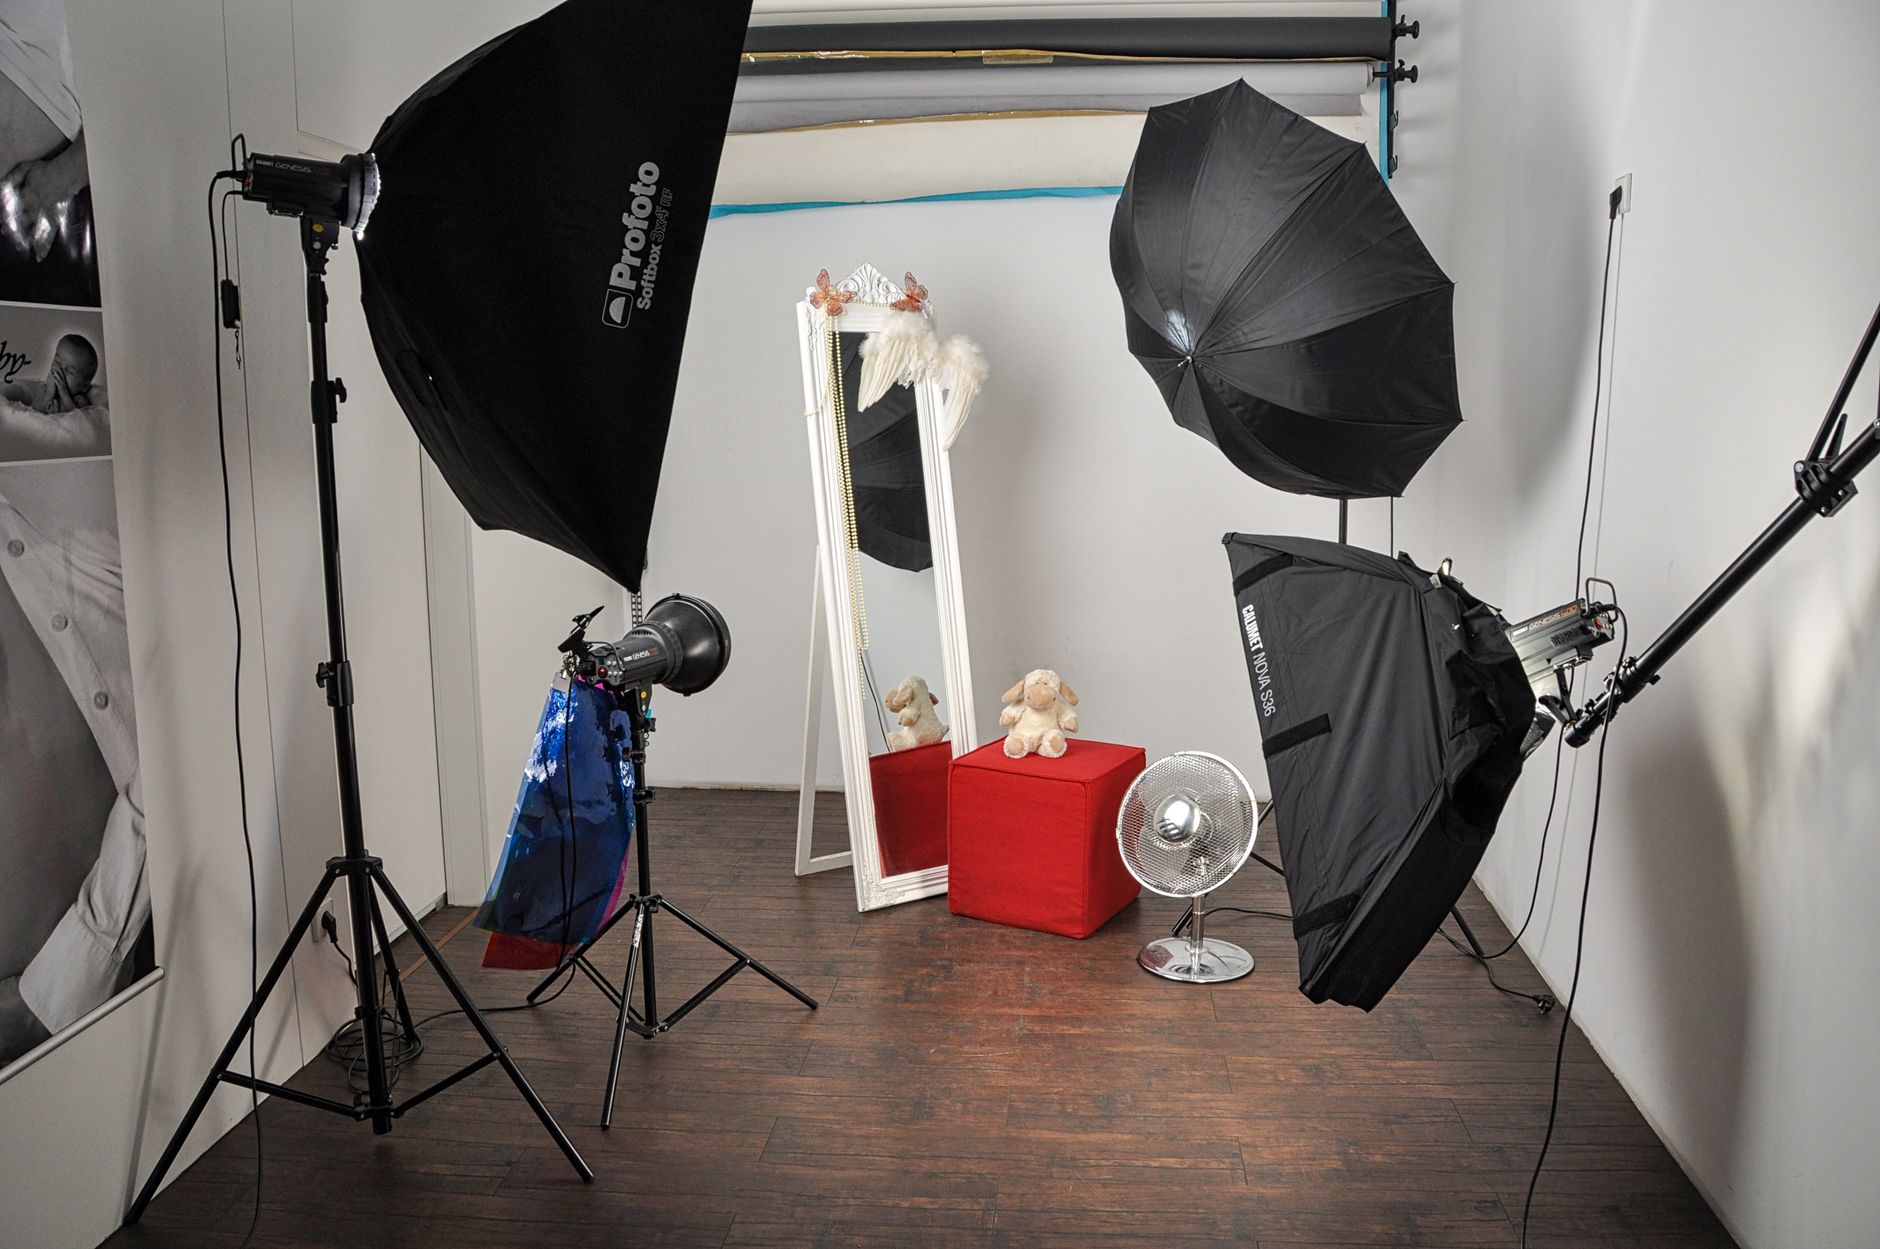
- The RALENO 2-pack softbox kit, which I chose as good value and well reviewed. It lights both the sweep and the unlit tent, so the tent needs no lights of its own in my setup. The candidates are in my budget softbox lighting kit post.
Once I have used both, my reviews of the tent and the sweep will follow in this series, and I will link them here.
Which one should you start with?
On paper, the choice comes down to what you film and how often you set up.
- A light tent suits someone filming lots of small, matte products who wants the same look every time with little setup, such as a marketplace seller shooting a batch of listings. If you own no lights yet and only film small items, a self-lit 40 cm LED box works on its own; my light tent post compares those, and explains why to test one for flicker on video first.
- A sweep with two softboxes suits someone filming bigger items, shiny items, or products where shape and texture matter, and anyone who wants the same backdrop behind them on camera. It also suits you if you already own a pair of lights or plan to buy them for talking-head videos anyway, because the softboxes then do double duty.
- Both suit a narrow case like mine: a channel that reviews the kit itself, or one that films a mix of small batch shots and bigger or on-camera work, and has the space to keep both.
If you can only buy one and want the most flexible start, the sweep and softboxes cover more ground, since more fill gets you close to a tent's even look. The tent is the quicker, simpler tool for small items. My guide to budget lighting for product videos covers how the light and the background work together.
Frequently asked questions
Do I need a light tent and a backdrop sweep?
Is a light tent or a backdrop better for product photography?
Can a light tent be used as a YouTube background?
What is the largest item a light tent can take?
Why did you buy both?
Sources
- SLR Lounge: the pros and cons of light tents
- Imagen: guide to light box photography
- NEEWER: how to use softbox kits for product photography
- Videomaker: building light boxes and specialty setups
- ExpertPhotography: how to photograph reflective surfaces
- Wikipedia: light tent
- Arqspin: product photography backgrounds
- Savage Universal: backdrops for YouTube videos
What is a light tent?
What is a seamless backdrop?
Budget light tent: the one I chose
Cheap backdrop: the one I chose
Budget softbox lighting kit