What Kit Do You Need to Start a YouTube Channel?
What kit do you need to start a YouTube channel? What a beginner needs, the seven pieces I settled on from zero, and why I chose each one.
What kit do you need to start a YouTube channel? This is the first post in my series on going from nothing to content creator, and it answers that question the way I had to: one piece at a time, before buying anything. My channel will be mostly voice-led with some on-camera videos, and the same kit will also shoot the product footage for the reviews I write on other sites.
Most people will be starting from scratch or have different equipment to hand. Where I'm repurposing kit I already own, like my GoPro HERO8, that's not going to be the best route for most people, and I say so at each step. Below is what a beginner channel needs, the seven pieces I settled on, my reasons for each, and links to the explainer and the decision post behind every item. If you have not set the channel itself up yet, start with how to start a YouTube channel in the UK.
What kit do you actually need to start a YouTube channel?
Less than most kit lists suggest. UK creator consultant Alan Spicer puts the spending order as microphone, then lighting, then camera, then support and accessories, on the reasoning that audio and lighting do more for a video than the camera does. His cheapest tier is just a phone, a clip-on mic, a light and a phone tripod.
So a beginner channel needs three things, in this order:
- Clean audio. A microphone close to your mouth, rather than the one built into the camera across the room.
- Controlled light. Soft, steady light that does not change with the weather outside your window.
- A steady camera position. A stand or mount that holds the camera where the shot needs it, every time.
Everything past that depends on what you film. A voice-led channel leans on the microphone. A channel that films products on a desk needs the overhead mount and a clean background. A new camera comes last, once you know what your current one cannot do. If you have no camera at all, my guide to what camera you need to start YouTube sets out the options. My guide to starting a YouTube channel with just a phone covers the cheapest version of all this.
Which kit terms do you need to know first?
Before I bought anything, I didn't naturally understand what transmitters and receivers are, when you need more than one, or why backup recording is useful. These are the terms the rest of this post relies on:
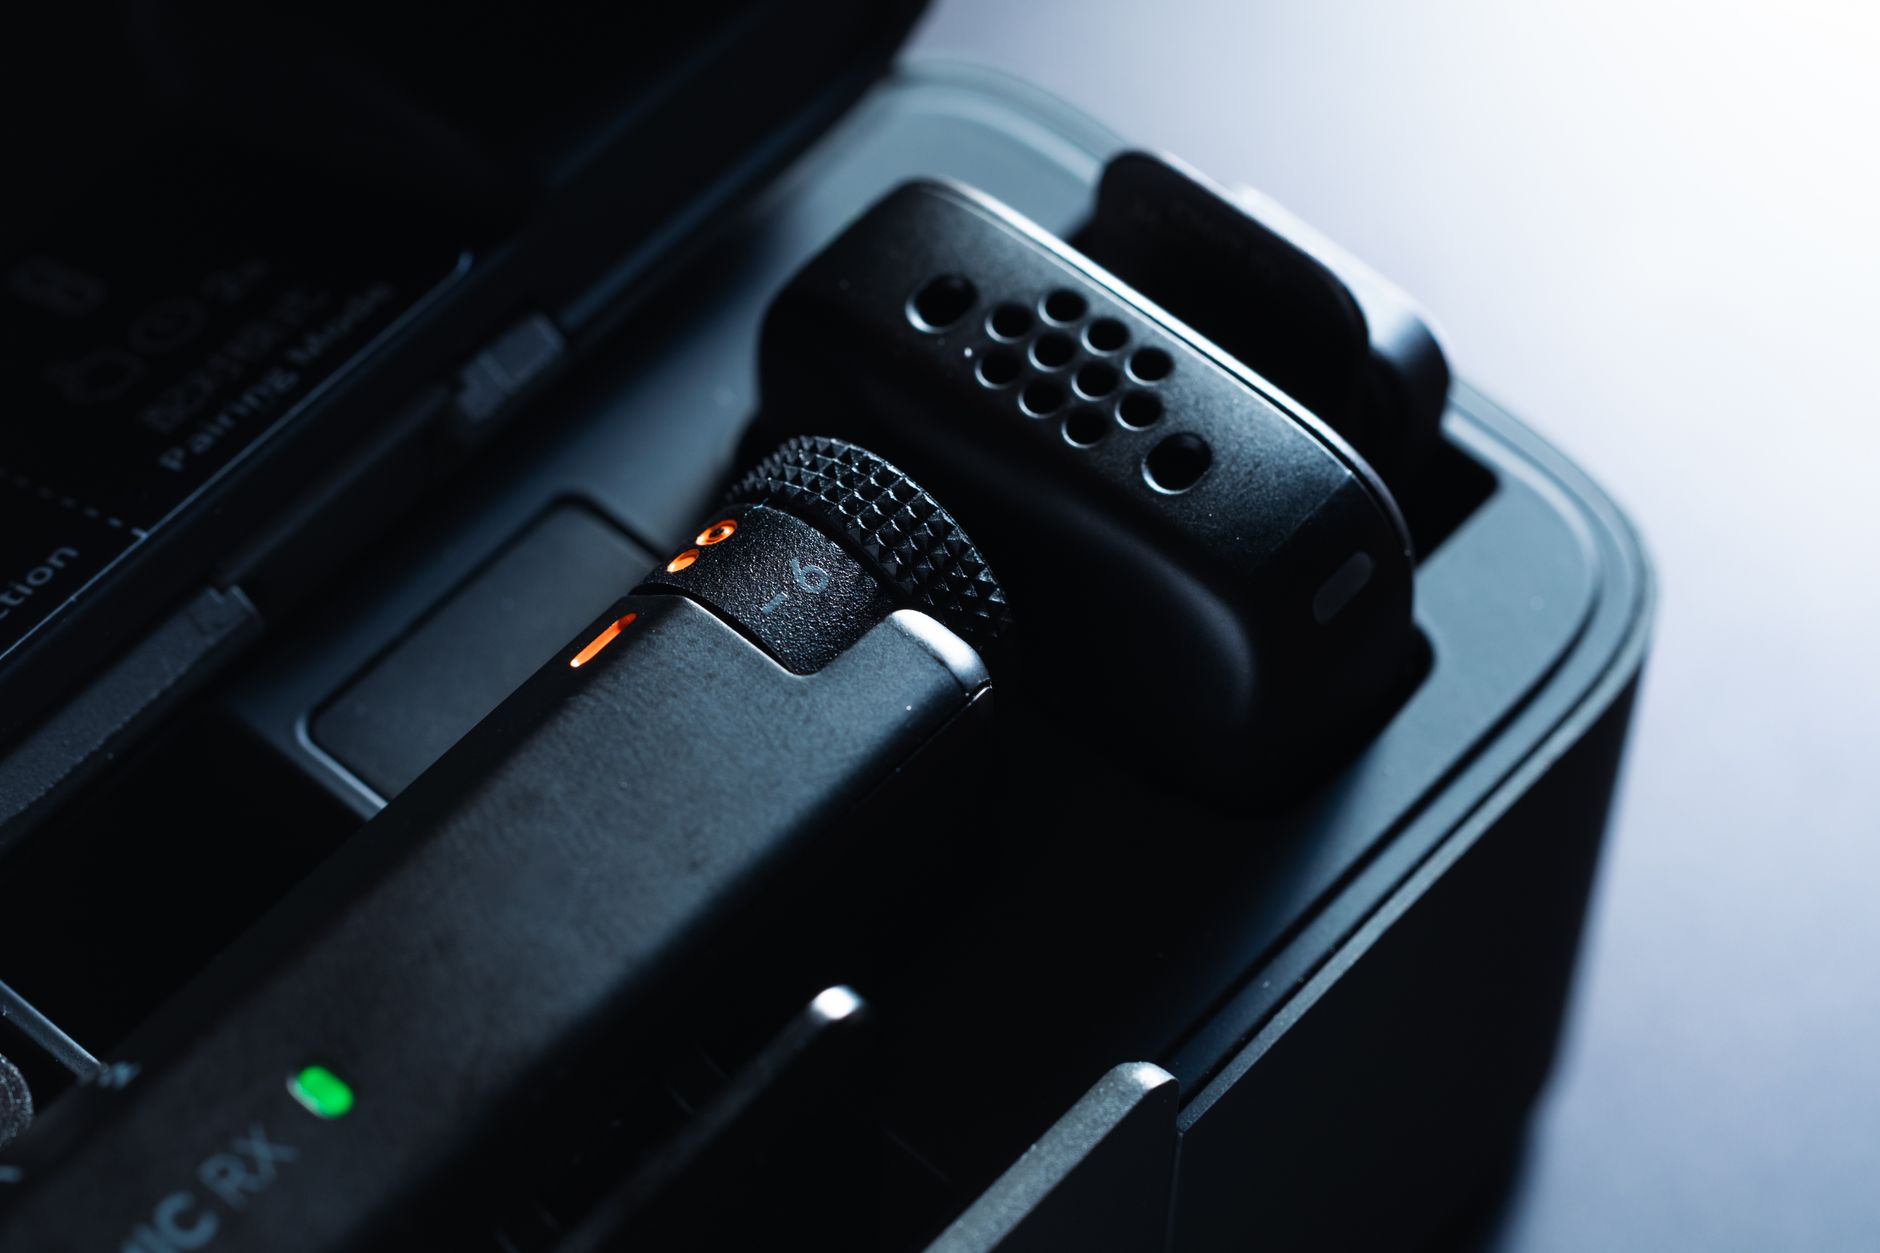
- Transmitter and receiver: a wireless mic comes in two halves. The transmitter is the small mic you clip to your clothing; it sends your voice by radio to the receiver, which plugs into the camera, phone or computer. You need one transmitter per person on camera.
- Backup recording: some transmitters also record a copy of the audio to their own memory, so a radio dropout does not ruin the take.
- 3.5mm analogue vs USB-C digital audio: a 3.5mm jack is the small round headphone-style plug that carries sound as an analogue signal. USB-C carries it as digital data, and only a device built to accept digital audio over USB-C can use it. A camera needs the matching socket for the receiver you buy.
- Softbox: a fabric box with a reflective lining and a white front panel that turns a small bulb into a large, soft light.
- Overhead arm: a horizontal arm that holds a phone or camera above a desk, pointing straight down, for shots of hands and products.
- Backdrop sweep: a sheet of paper, PVC or fabric that curves from the wall down onto the table with no visible join, so the subject sits on a plain, endless background.
- Light tent: a box with thin white walls that scatter light around a small object from every side, so it casts almost no shadow.
- Dynamic vs condenser microphone: a dynamic mic is less sensitive and picks up mostly what is close to it, which suits an untreated room. A condenser is more sensitive and picks up more of the room around you.
Which seven pieces did I settle on?
For each piece I researched the candidates within a beginner budget before buying, then chose. This is the list I ended with:
| Piece | What I chose | The short reason |
|---|---|---|
| Wireless mic | DJI Mic Mini 2S, standard receiver | Best fit, and its backup copy is worth the extra |
| Lighting | RALENO 2-pack softbox kit | Good value and well reviewed |
| Overhead arm | NEEWER ST008 desk stand | Strength, room for more arms and a heavier camera |
| Backdrop | 100x200cm white PVC sweep | The larger PVC option, and well reviewed |
| Light tent | Neewer 60cm tent | Needed to complete this series and its reviews |
| Camera audio | Used GoPro Media Mod | Only because I already own a GoPro HERO8 |
| Desk mic | MAONO PD200X | Fits the stand, and keeps the mic raised |
The sections below give my full reasons, in the order a beginner should think about them.
Why a wireless mic first?
Audio is the first spend, so the wireless mic was the first decision. I bought the DJI Mic Mini 2S (a compact wireless mic system from DJI, the Chinese drone and camera maker) with one transmitter and one receiver for £79. It seemed the best fit, particularly with the backup copy, which I think is worth paying the extra for.
I nearly made a mistake here. I nearly bought the version with the Mobile receiver and charging case at the same price, before realising its receiver is USB-C only and would not work with my Nikon D3300, an entry-level DSLR I already own. I swapped to the standard receiver version. If you are buying a wireless mic, check which socket your camera has before you choose the receiver.
A second mistake led straight to another piece of kit. I assumed that because the DJI receiver has USB-C, I could plug it straight into my GoPro. I didn't know why I'd need a 3.5mm mic input. That is where the Media Mod comes in, further down.
Read next: What is a wireless lavalier microphone? explains what the item does, and Budget wireless microphone for YouTube lists every candidate I compared with its pros and cons.
Why two softboxes for lighting?
Light is the second spend. A pair of softboxes gives you a key light (the main light on you or the product) and a fill light on the other side to soften the shadows, which is why budget kits come as a 2-pack. I went with the RALENO 2-pack (a budget softbox kit from RALENO, a maker of photo and video lighting), as it's good value and well reviewed.
If you only want one light to start, my one-light setup guide shows where to put it.
Read next: What is a softbox? explains what the item does, and Budget softbox lighting kit lists every candidate I compared with its pros and cons.
Why an overhead arm, and why did I step past the beginner tier?
An overhead arm holds the camera above the desk for top-down shots of hands and products, which matters for the product footage this kit will shoot. Of the beginner options, my choice was the Neewer tabletop stand, as it looks more sturdy and I'm interested in steady overhead desk shots. I do think the SmallRig will be a better option for some people, as it looks more versatile in terms of the angles you can create with it.
Then I changed my mind. I eventually switched to the NEEWER ST008 (a desk-clamped stand from NEEWER, a long-running photo-accessory brand, that takes several arms), which I found for £54.99 on Amazon, so only about £17 more. I chose it for its superior strength and its ability to hold multiple arms: I have a portable monitor it could hold, and I might get a desk mic soon which can be attached to it as well. I also like that it can hold a heavier camera, giving me more options with lenses.
This is the clearest case in the series of my situation not being yours. If I was just buying it to literally support a camera and nothing else, I'd have gone with the cheaper Neewer. The ST008 is a deliberate step up from the beginner tier, and my guide to choosing an overhead camera mount for a desk covers that mid-range, and my mid-range overhead camera mount guide sets the ST008 against its rivals.
Read next: What is an overhead camera arm? explains what the item does, and Budget overhead phone mount lists every candidate I compared with its pros and cons.
Why a backdrop sweep?
A sweep gives products, or a small desk scene, a plain background with no line where the table meets the wall. I don't have an 80cm deep desk, which ruled out the sizes built for one. I went with the 100x200cm white PVC backdrop, as it's the larger of the two PVC options and is well reviewed.
Fabric was the other route. The polyester backdrop looks better if you want larger photos, for example with a whole person in, or are looking for a green screen. But it needs ironing, which would end up too much maintenance for the few times I want to use it. If you plan to film yourself standing against it, fabric is the one to look at.
Read next: What is a seamless backdrop? explains what the item does, and Cheap product photography backdrop lists every candidate I compared with its pros and cons.
Do you need a light tent as well as a sweep?
For most beginners, probably not both: a light tent and a sweep both give a small product a clean background, and a tent also spreads the light around it. I asked myself whether I needed both a light tent and a backdrop sweep. Out of the light tents, I went with the Neewer 60cm. I bought it as well as the backdrop sweep, because getting the products and doing the reviews to complete this series matters more to me than avoiding the overlap.
That reason is specific to this series. If you film small products only, one of the two will do the job, and the tent is the more self-contained choice. If you film larger objects or desk scenes, the sweep covers more ground. My light tent vs backdrop sweep guide works through the overlap in detail.
Read next: What is a light tent? explains what the item does, and Budget light tent for product photography lists every candidate I compared with its pros and cons.
Why a GoPro Media Mod, and should you buy one?
This is the piece most readers should skip. The GoPro Media Mod is a frame for the HERO8 Black that adds the ports the camera body lacks, including a 3.5mm microphone input and cold shoes for mounting a mic or light. Without it, the HERO8 has nowhere to plug in my wireless mic's receiver.
I'm only going down this route because I already have the GoPro HERO8. Most people starting out will be starting from scratch or have different equipment to hand, and what I am doing is not going to be the best route for most people. Among the routes for the HERO8, I went with a used official GoPro Media Mod, as I'd like the option of using it on the go, which seems like it would be awkward with the workaround solutions.
If you are choosing a camera rather than adapting one, start with the camera you already have. I have written guides to three common starting cameras: the Pixel 9a, the Nikon D3300 and the GoPro HERO8.
Read next: What is the GoPro Media Mod? explains what the item does, and GoPro HERO8 external microphone lists every candidate I compared with its pros and cons.
Why did the desk mic come last?
The wireless mic covers on-camera videos. A voice-led channel also needs a mic for voiceover at the desk, and that one came after the rest: when I chose the stand, I only expected to get a desk mic soon. I'm going with the MAONO PD200X (a dynamic USB and XLR microphone from MAONO, a budget audio brand), as it will fit well onto the stand I bought, and I'd rather have my mic raised than sitting on the desk.
Two other candidates are worth knowing about. The Samson Q2U looks more like a mid- to upper-range option to me, and my mid-range desk microphone guide covers that step up. The Amazon Basics condenser USB microphone should be in any budget or beginner mic comparison as the most affordable option. My guide to recording voiceover at home covers how to use whichever mic you choose.
Read next: What is a dynamic microphone? explains what the item does, and Budget microphone for voiceover lists every candidate I compared with its pros and cons.
What would I buy if I were starting from nothing?
Not exactly my list. Three of my seven choices fit my own situation rather than most readers':
- The Media Mod exists only because I already own a HERO8. Without one, put that money towards whatever your own camera needs to take a mic, or towards nothing at all if you film on a phone.
- The ST008 is a step past the beginner tier. If the arm only has to hold a camera, the cheaper Neewer tabletop stand was my beginner pick.
- Buying both a light tent and a sweep was for this series. Most beginners need one.
Stripped back, the beginner version is the order this post follows: a wireless mic that fits the socket on the camera you already own, a two-light softbox kit, then a mount and a background once you know what you film. A desk mic joins when voiceover becomes a regular part of your videos. My YouTube starter kit by budget sets those steps against price tiers.
What comes after the kit?
Kit gets the first video made; the channel takes longer. To earn from ads through the YouTube Partner Programme (YPP), YouTube requires 1,000 subscribers plus either 4,000 public watch hours in the past 12 months or 10 million Shorts views in the past 90 days, and watch hours from the Shorts feed do not count towards the 4,000. That is a long way off for any new channel, which is one more reason to keep the first spend small.
Next in this series, I review each of these pieces once I have used it, so you can see whether the choices held up.
Frequently asked questions
What is the minimum kit to start a YouTube channel?
Should I buy a microphone or a camera first?
Will a USB-C wireless mic receiver work with any camera?
Do I need a GoPro Media Mod to start a YouTube channel?
Do I need both a light tent and a backdrop sweep?
Sources
How to start a YouTube channel in the UK
YouTube starter kit UK
Start a YouTube channel with just a phone